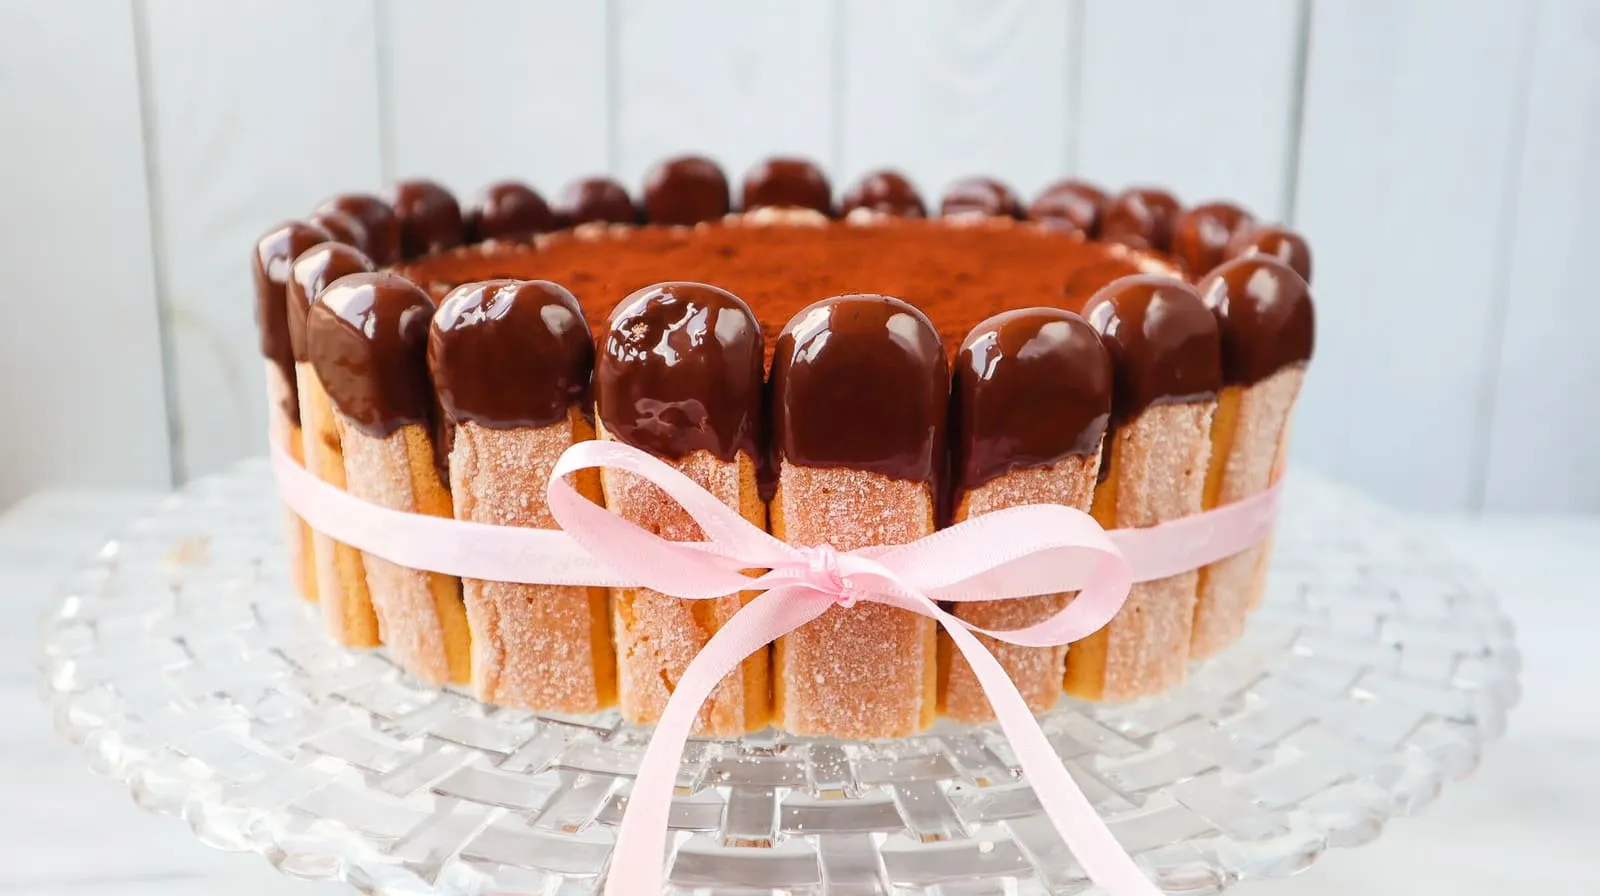
Tiramisu Charlotte Cake
This cake combines the rich, silky coffee-and-liqueur flavor of tiramisu with the elegant look of a charlotte cake. It's made of light chocolate sponge, creamy mascarpone, ladyfingers soaked in coffee and brandy, and rich cocoa powder. It's even better than regular tiramisu, and this tiramisu charlotte cake will make everyone who tries it bubble over with happiness. A cake that's both delicious and elegant.
By Amanda Chang
Jump to recipe ↓This page was machine-translated and may contain errors.
Mother’s Day is coming soon. If you haven’t decided what to give your mom yet, try making her a cake that’s as delicious as it is beautiful. Last Mother’s Day, I shared a no-bake mulberry cheesecake, sweet-tart and delicious. If you haven’t tried it yet, here’s the recipe ➢ No Bake Mulberry Greek Yogurt Cheesecake. This Mother’s Day I’m once again sharing a delicious, not-too-complicated cake: a tiramisu charlotte cake! Why share this cake right before Mother’s Day? I hardly need to explain how important tiramisu, the undefeated king of classic Italian desserts, is in the dessert world. Charlotte cake may be less familiar to most people. Simply put, a charlotte is a cake surrounded by ladyfingers and filled with creamy mousse and cream. It looks beautiful and elegant, and if you make this cake with your own hands for someone you love, they’ll be so touched and happy.
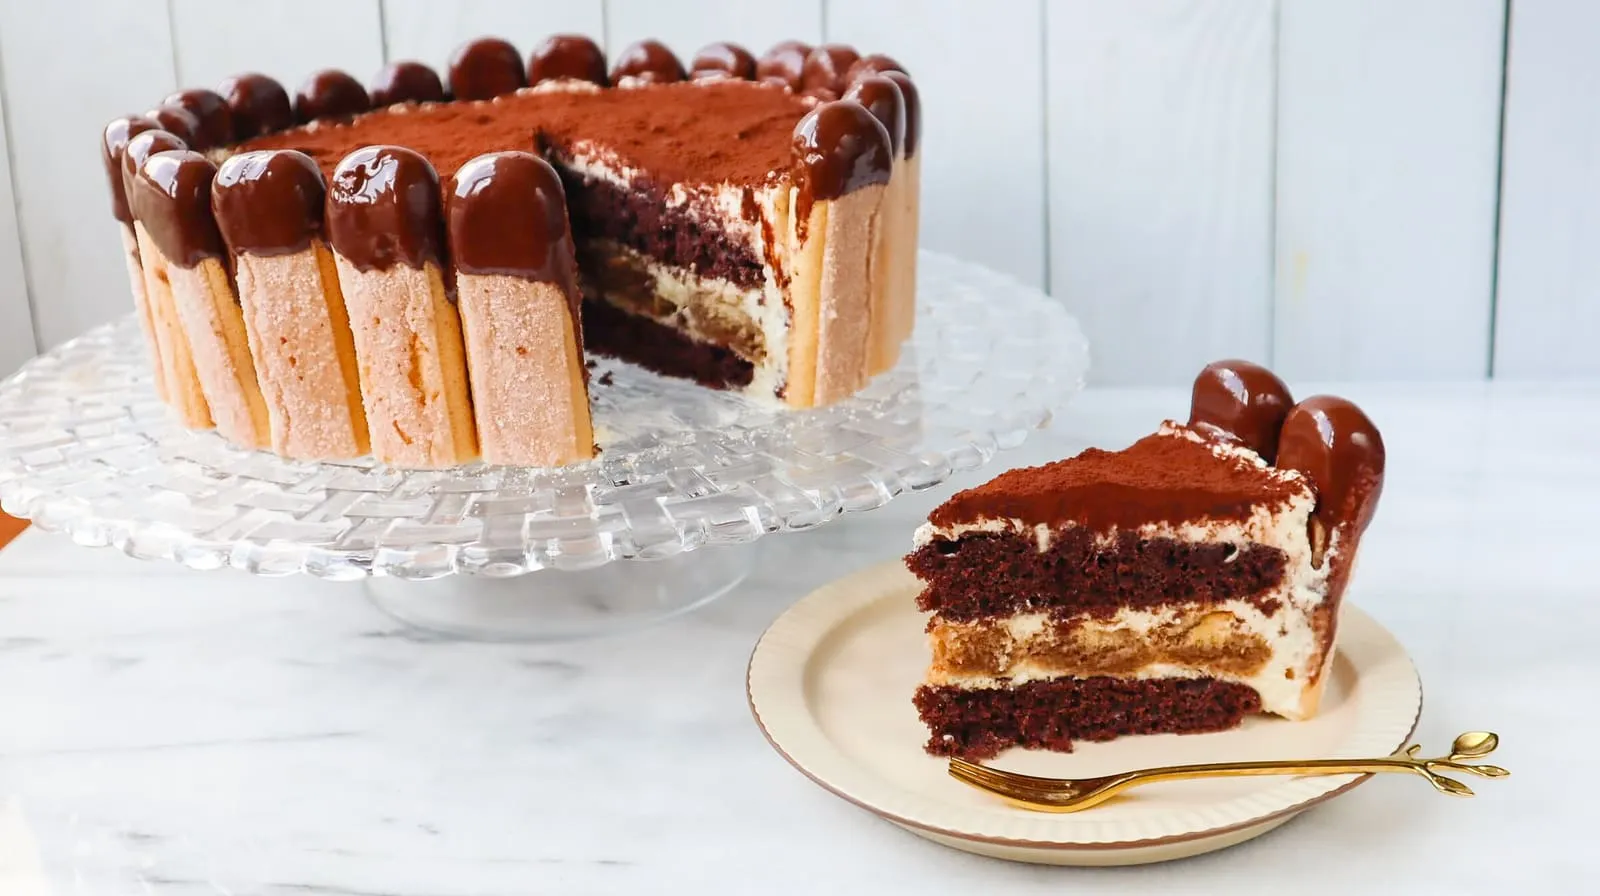
Tiramisu Charlotte Cake
About Classic Tiramisu
Classic tiramisu is one of the most beloved desserts in the world: a rich, fluffy mascarpone base with ladyfingers soaked in coffee and rum, finished with a dusting of rich cocoa powder. Anyone who’s tried tiramisu falls in love with it right away. But because tiramisu has no cake layer, just soaked ladyfingers and cream, it’s usually served in a box and isn’t easy to share. If you’ve ever bought Costco’s tiramisu, you know what I mean: everyone grabs a spoon and digs in, one bite for you, one bite for me. So I think turning tiramisu into a cake not only makes it prettier, it also makes it easier to share with your family. In Italian, tiramisu means “cheer me up” or “pull me up.” Once you’ve tasted it, you won’t wonder at all why this dessert got its name; every bite is satisfying and sweet right down to your heart. The four key elements of tiramisu are: ladyfingers, the mascarpone cream filling, coffee and brandy, and the cocoa powder on top.
The origins of classic tiramisu
Charlotte Cake: Origins and Characteristics
The charlotte cake is said to have been invented by Marie-Antoine Carême (1784-1833), chief chef to French royalty. It has a ring of ladyfingers around the outside and is filled with Bavarian cream. The cake, Charlotte à la Parisienne, was named in honor of Queen Charlotte, wife of King George III of England, whom he served. Later, when he became the royal chef to the Russian tsar, he renamed the cake Charlotte à la Russe in tribute to the tsar. Another story says the cake’s shape was inspired by a hat that was fashionable among women at the time, and the trendsetter for that hat was none other than Queen Charlotte, wife of King George III. Whether or not that’s true, there’s no doubt about the cake’s elegant look.
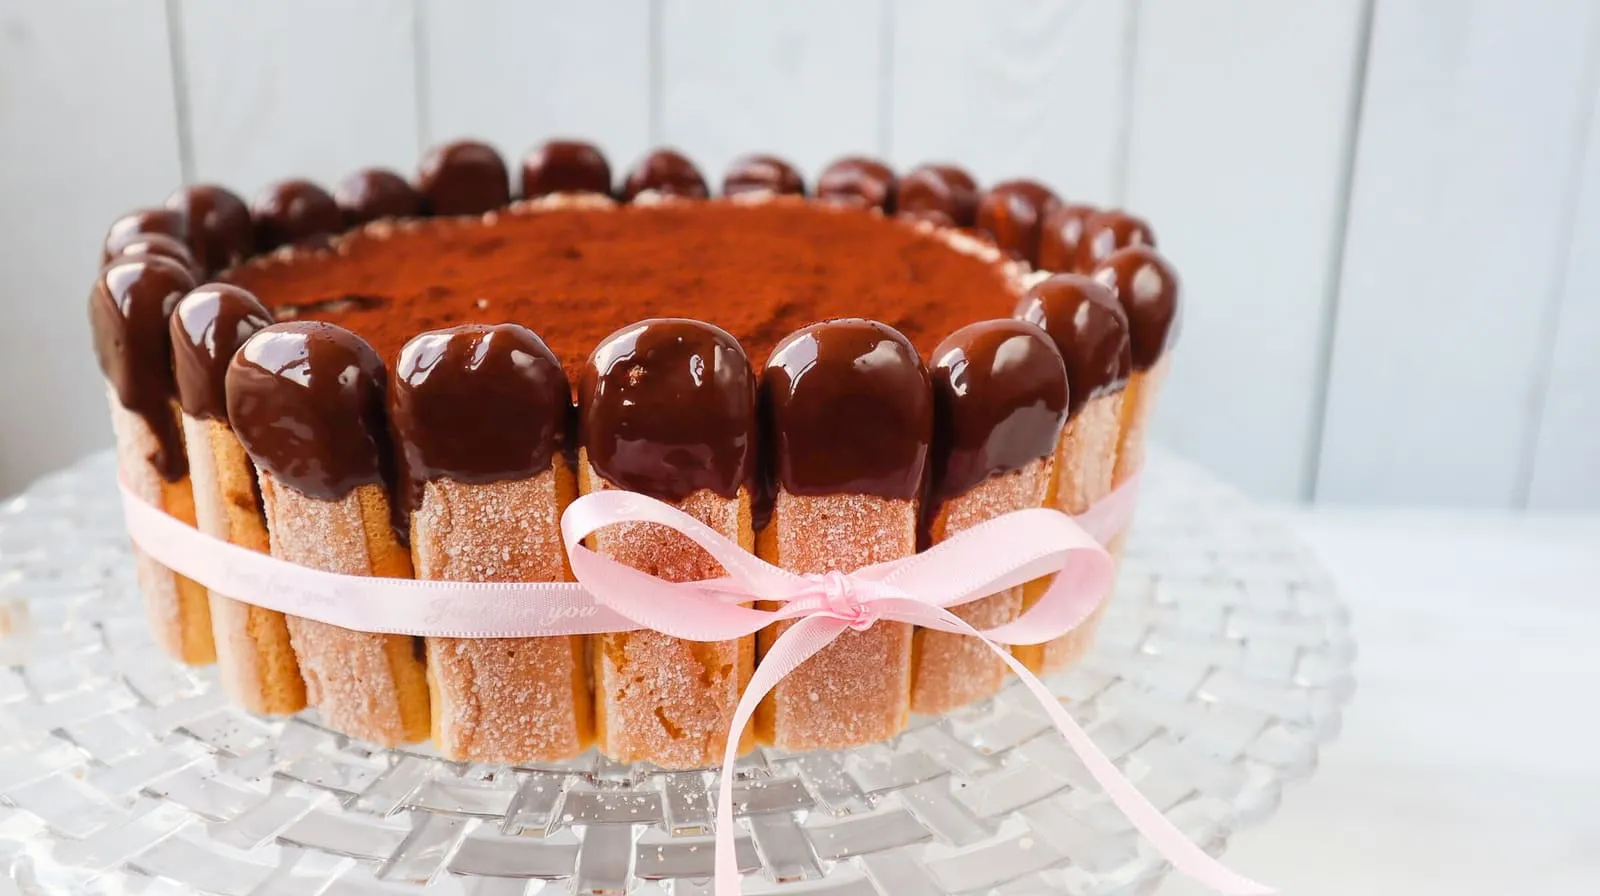
Charlotte cake: origins and characteristics
Ingredients for Tiramisu Charlotte Cake
Mascarpone
Mascarpone is like an Italian version of cream cheese. It’s made from cream, with something like lemon juice or citric acid added to stabilize it. Mascarpone has a smoother, milder texture. You can buy mascarpone at baking supply stores.
Ladyfingers (Savoiardi)
Ladyfingers are a traditional Italian cookie, very dry and crisp, with a thin coating of powdered sugar. In tiramisu recipes they’re soaked in coffee and liqueur. Ladyfingers absorb liquid and flavor quickly, and soften quickly too. You can also buy Italian ladyfingers at baking supply stores.
Coffee
I brewed a pot of espresso myself. If you don’t want to brew coffee, you can use instant coffee. Since it goes inside the cake, I suggest making the coffee a bit stronger than you would for drinking.
Brandy
Brandy makes your tiramisu especially irresistible. If you can’t find brandy, another common choice is rum, ideally dark rum. If you don’t want any alcohol flavor at all, I suggest using just coffee and a little vanilla extract.
Cocoa powder
I remember the first time I made tiramisu, I used regular cocoa powder. An hour later, the cocoa powder had become very damp, dark, and a bit pasty. Later I learned that for dusting tiramisu, it’s best to use non-melting (moisture-resistant) cocoa powder, because it has a higher cocoa butter content and doesn’t absorb moisture as easily. So I recommend non-melting cocoa powder. If there’s no baking supply store near you and you can’t order online, just use regular cocoa powder, but I suggest dusting it on right before packaging.
Ingredients for tiramisu charlotte cake
Equipment you’ll need
Electric hand mixer
For this recipe it’s best to have an electric hand mixer. Without one, it’s really hard to whip the cream and eggs by hand. It’s not impossible, but it’s very, very hard work, so it’s best to have a hand mixer ready.
Fine sieve
The fine sieve plays an important role in this recipe, because besides sifting all the dry ingredients, you’ll also use it to dust cocoa powder over the cake at the end.
18cm round cake pan and parchment paper
Have one or two 18cm (7-inch) round cake pans ready, ideally springform or with a removable bottom for easy unmolding.
Oven
Remember, for any recipe that uses the oven, always preheat it first!
Equipment needed for tiramisu charlotte cake
How to Make Tiramisu Charlotte Cake
Making a tiramisu charlotte cake breaks down into these main elements:
Chocolate cake, mascarpone cream, coffee-soaked ladyfingers, decoration
Since this cake has quite a few steps, if any details are unclear, I recommend watching the detailed steps in the video alongside the notes below.
1. Chocolate cake base
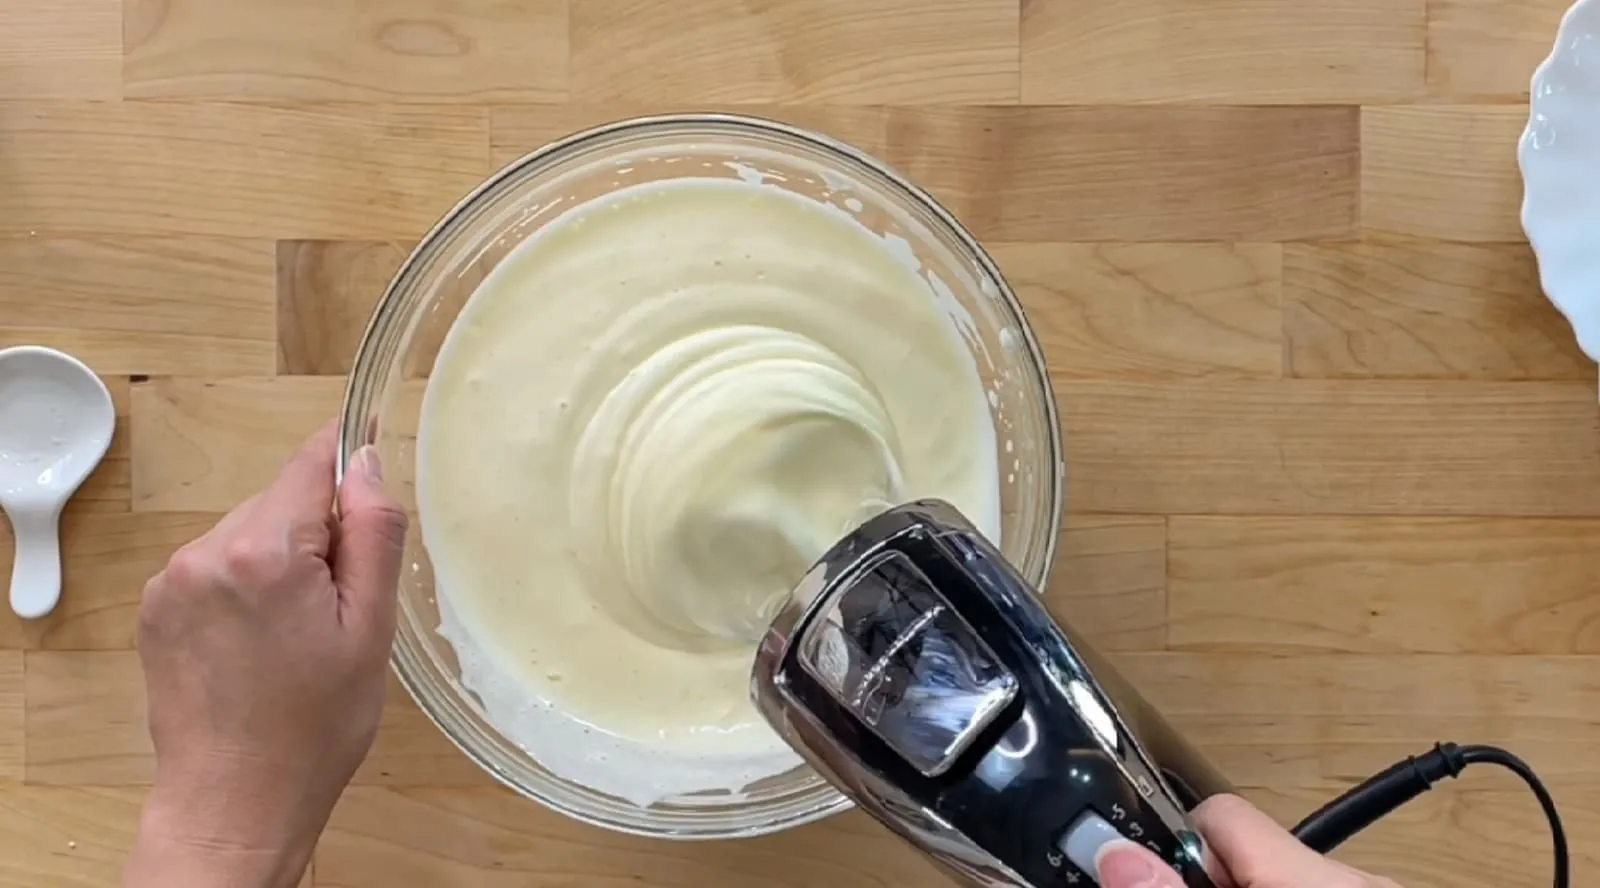
Put the room-temperature eggs and sugar in a large bowl and beat with a hand mixer for 10 minutes, until the eggs turn pale yellow, double in volume, and are light and airy. Then add the salt and mix well. Eggs straight from the fridge are harder to whip, so I recommend letting them come to room temperature first.
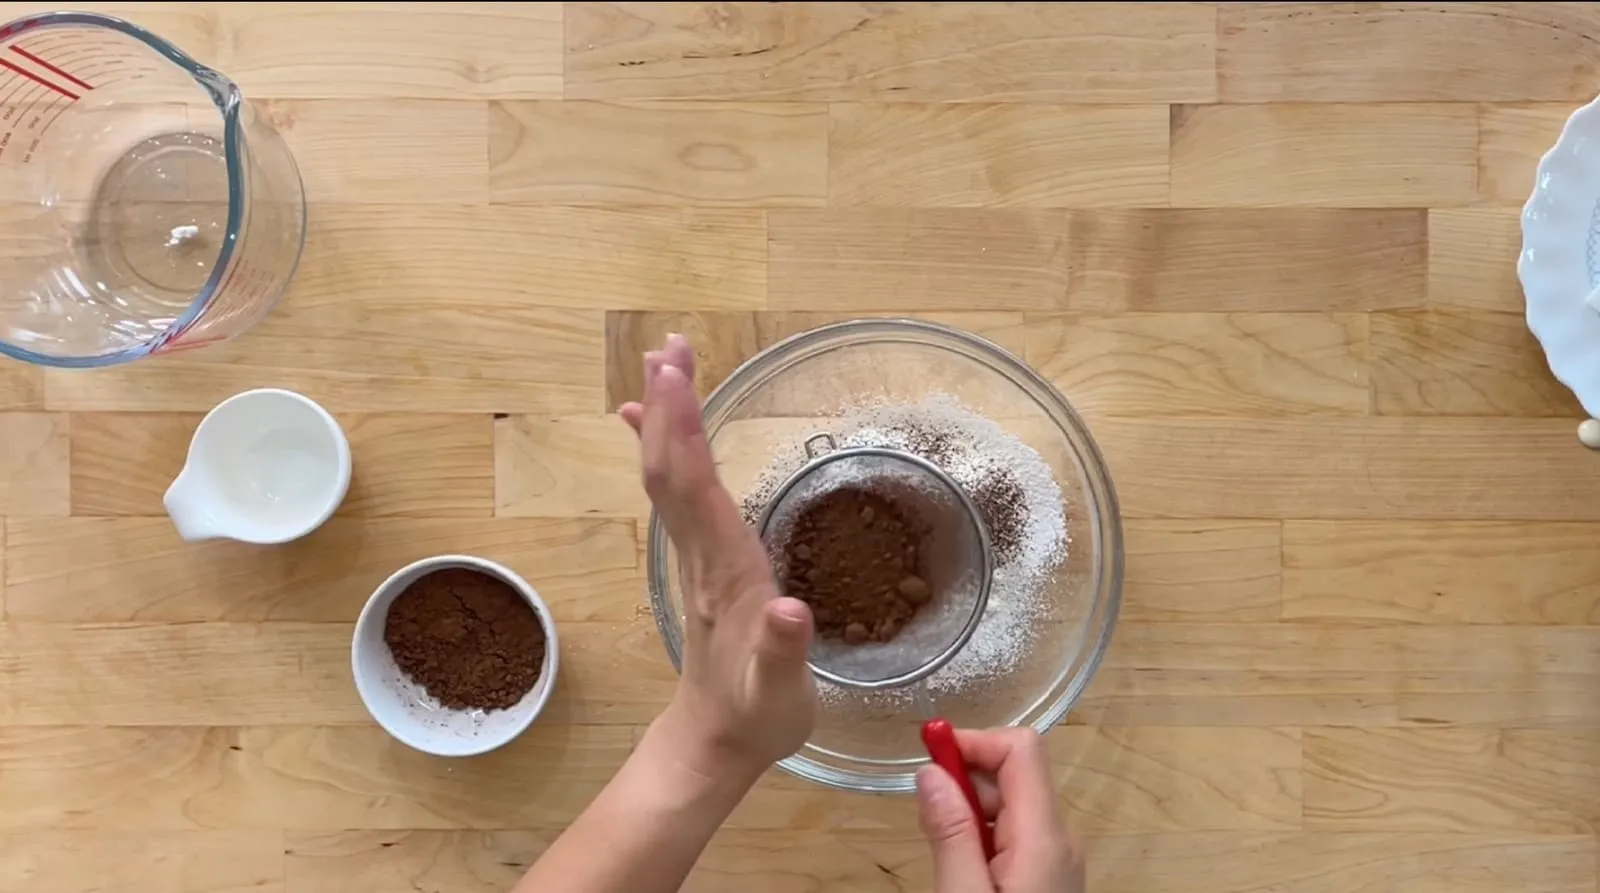
Next, in another bowl, sift the flour, baking powder, and cocoa powder through a fine sieve. We want the chocolate cake to be soft and fluffy without any lumps of flour, so you have to sift. Cocoa powder in particular clumps very easily, so always sift the dry ingredients.
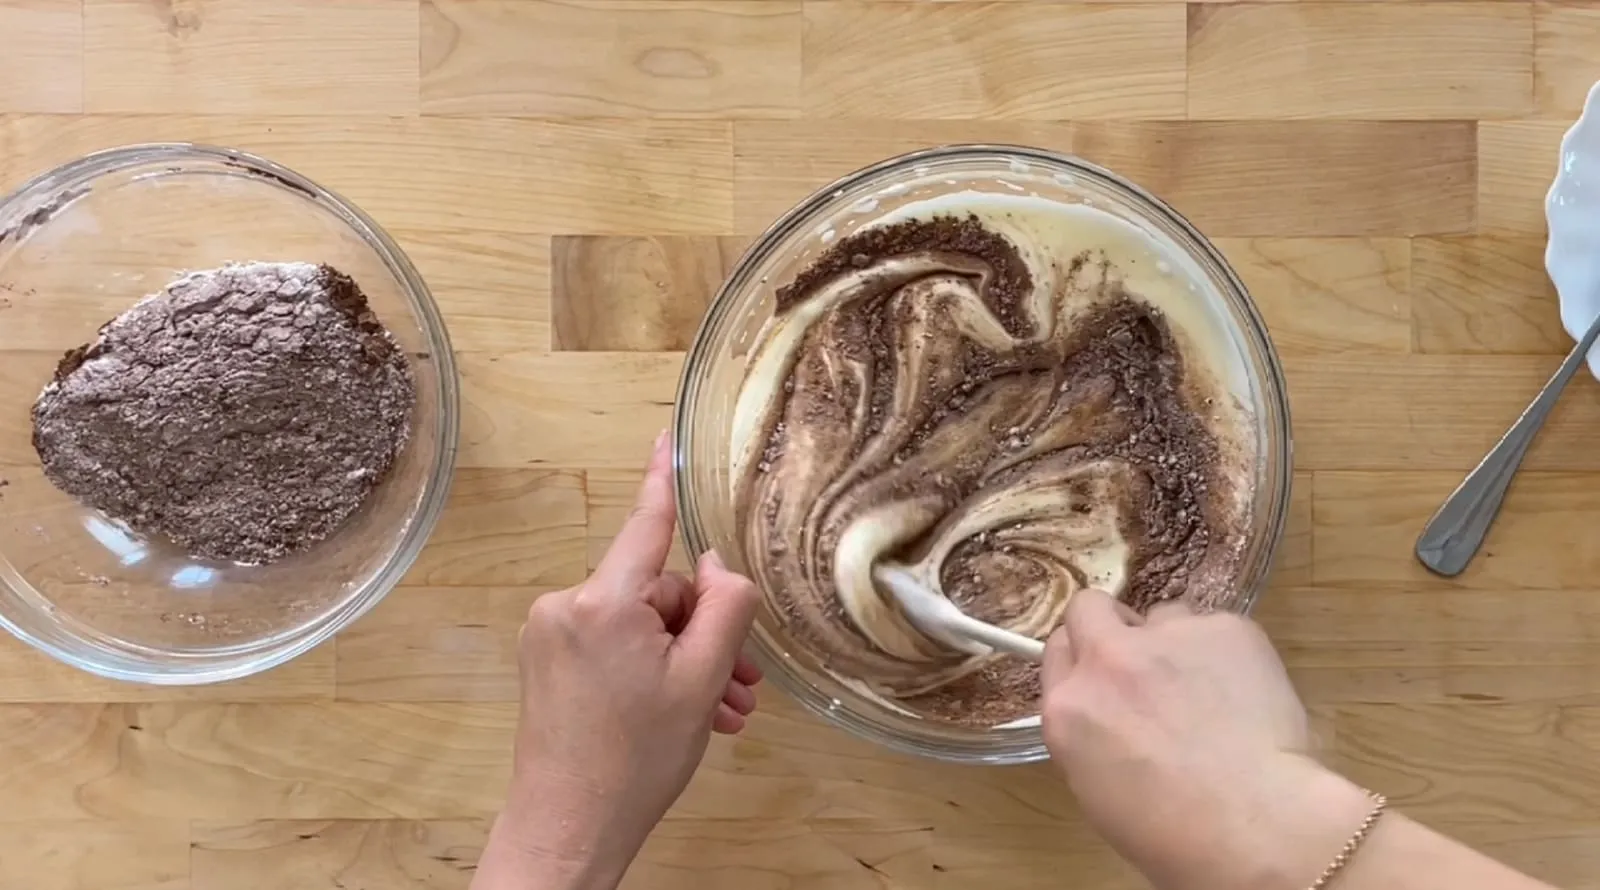
Then add the flour to the eggs in two additions. The reason for two additions is that the eggs are whipped so light and fluffy that if you add it all at once, it’s hard to mix evenly and you’ll end up overmixing. To keep the air in the eggs, add half the flour first and, using a spatula in a figure-8 motion, slowly and gently fold the flour into the eggs. Once it’s evenly combined, add the rest of the flour and fold it in with the same motion and gentle touch. As soon as it’s evenly combined, stop; don’t overmix.
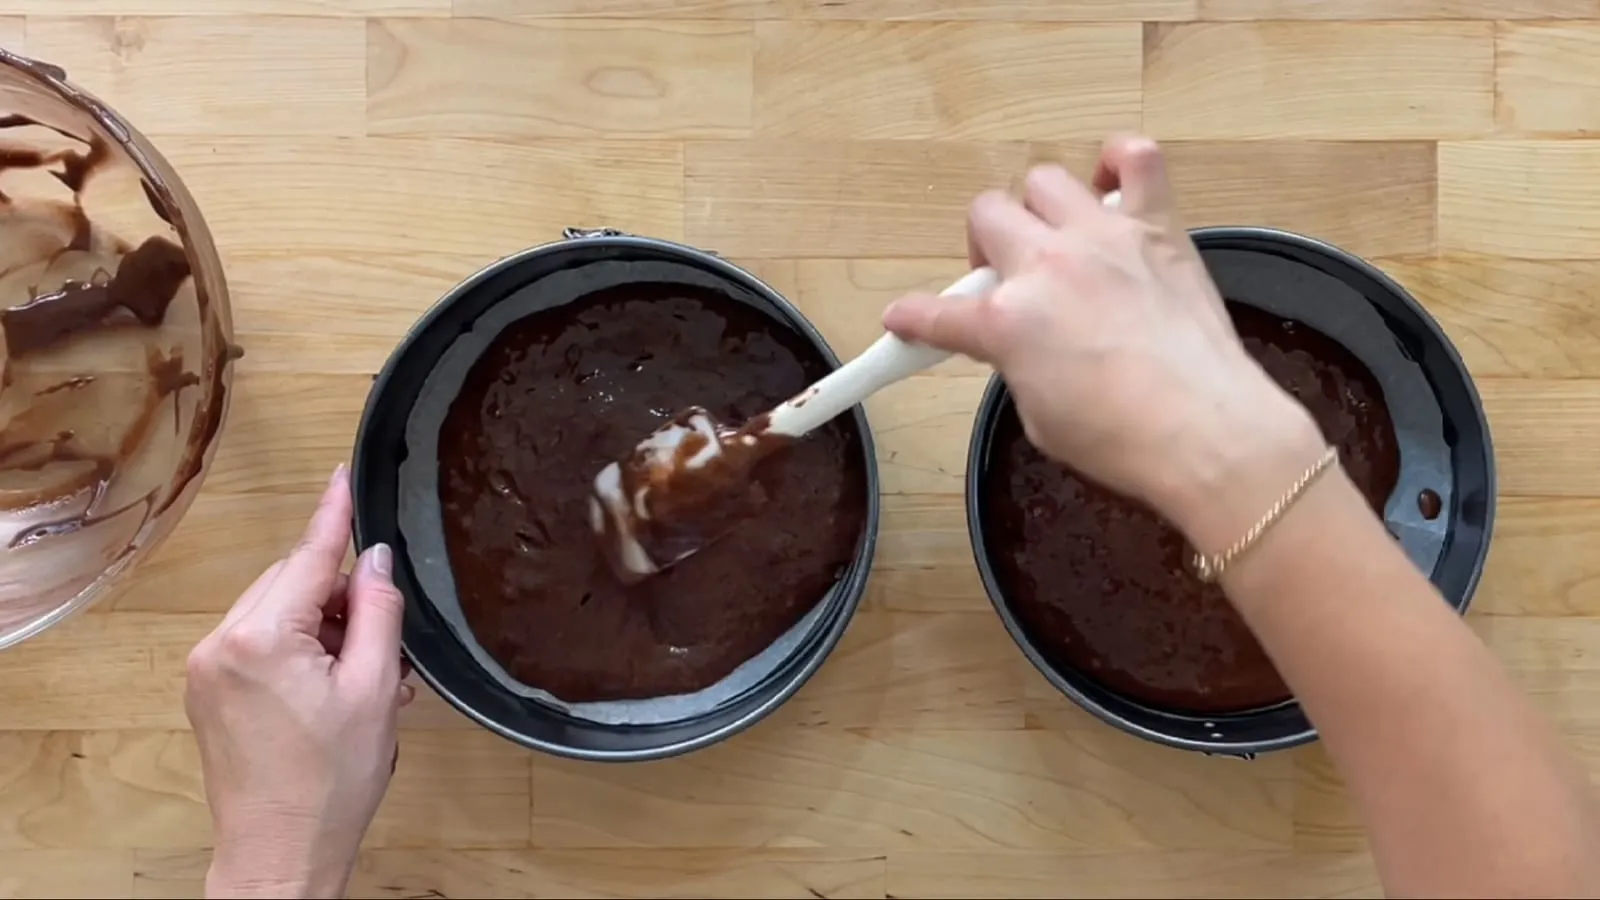
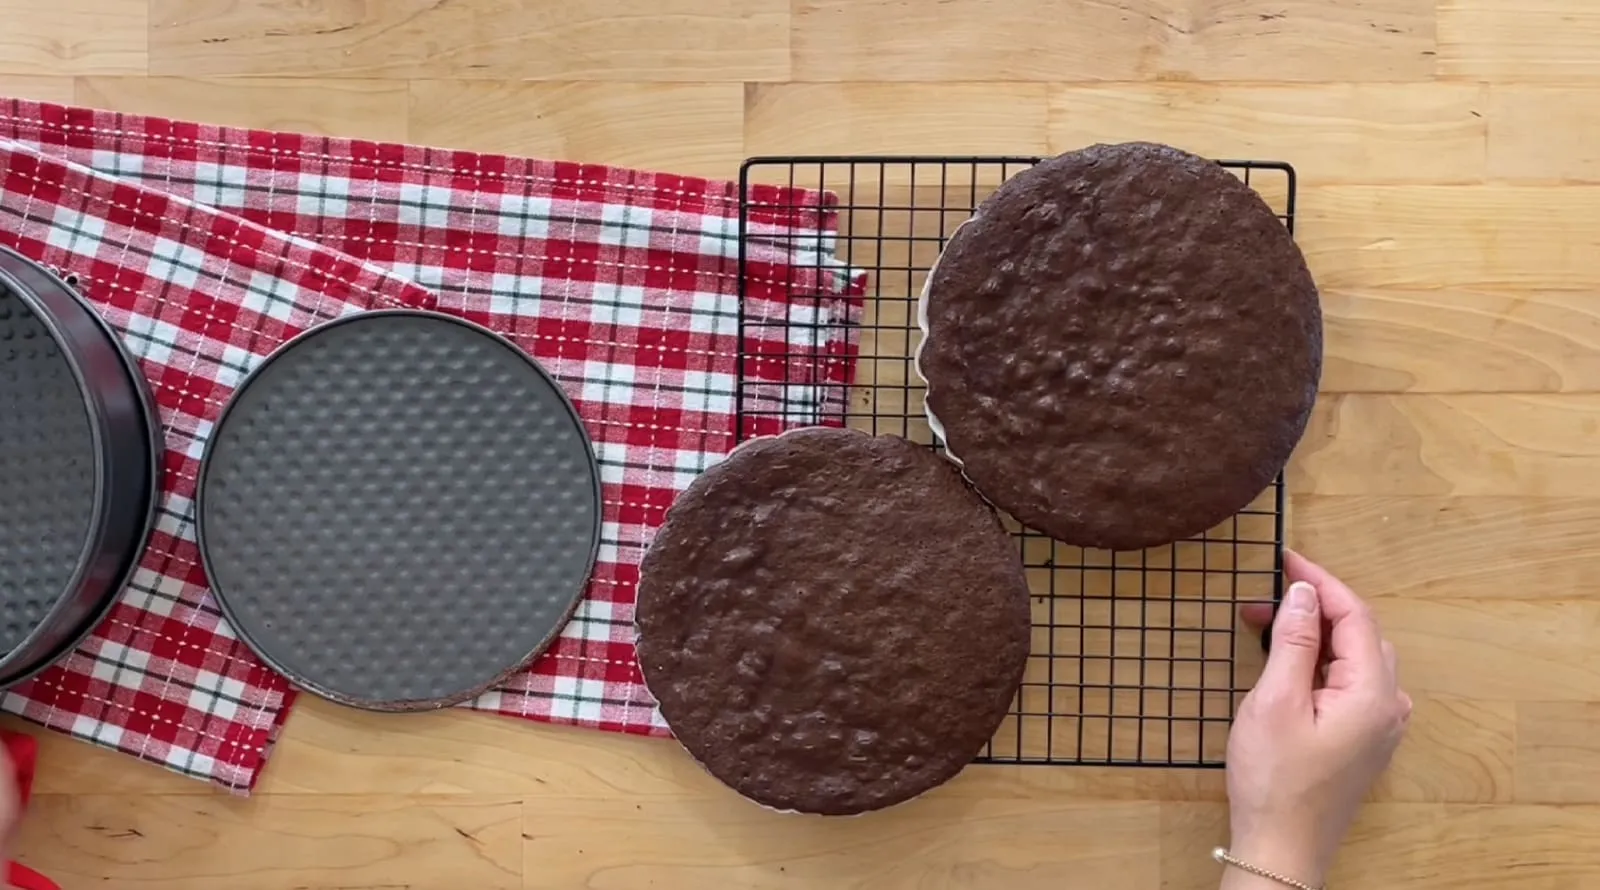
Take a round cake pan and line the bottom with parchment paper (the video shows a quick way to cut a round piece of parchment). Pour in the batter and bake at 180°C (356°F) for 25 minutes. If you’re like me and bake two layers in two pans, bake at 180°C (356°F) for 20 minutes; with just one pan, bake a little longer. Once baked and cooled, just slice it horizontally into two layers. Unmold the baked cake and let it cool.
2. Mascarpone cream
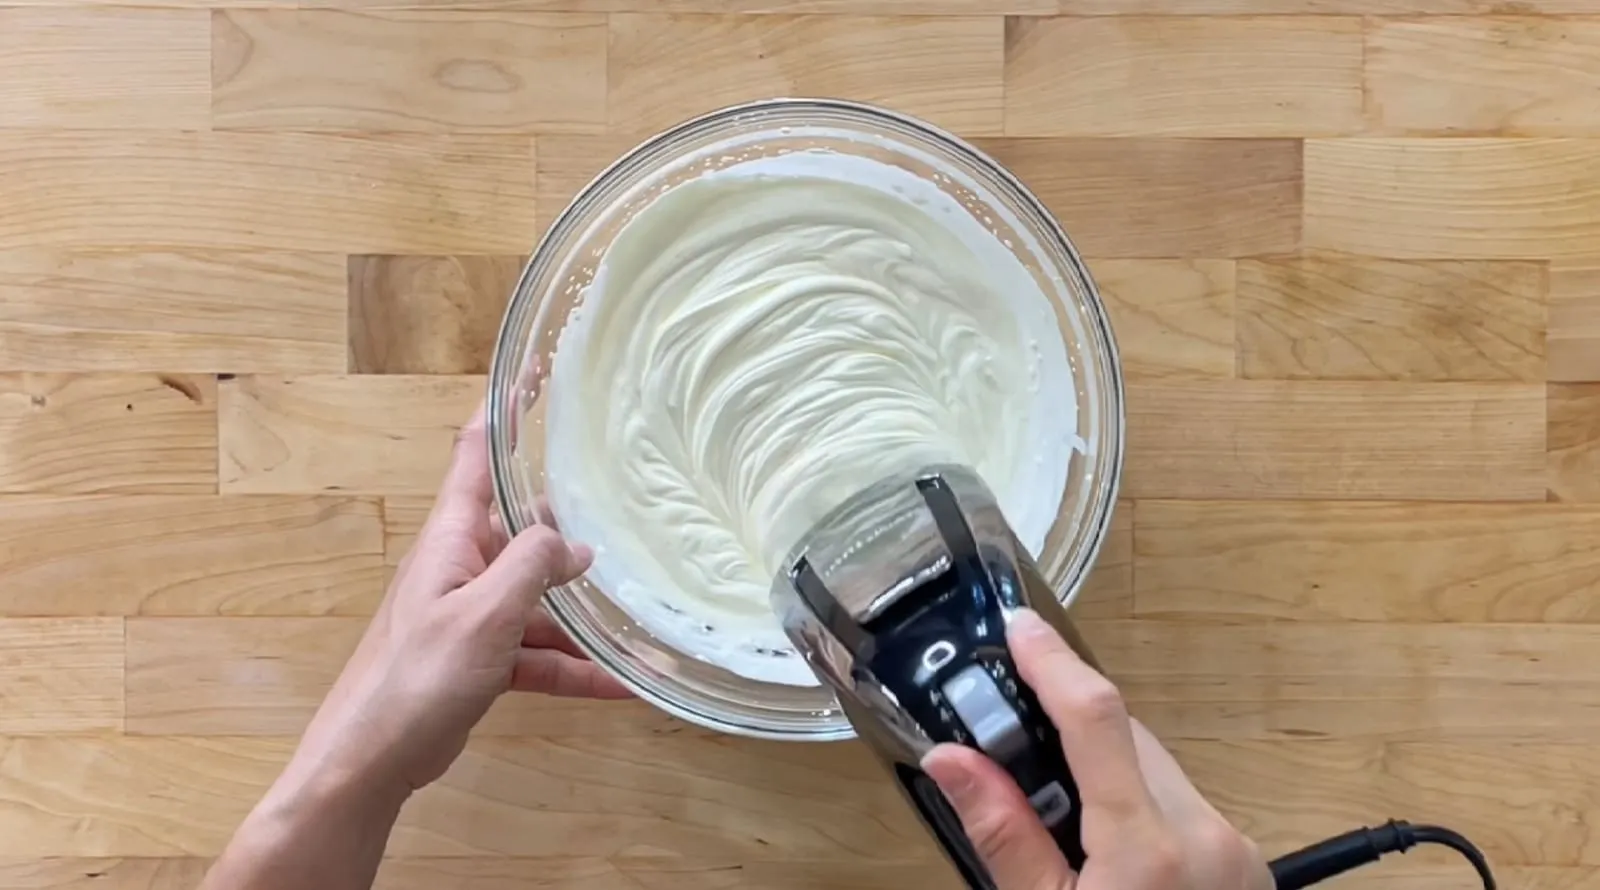
Take the cream out of the fridge and whip it with a hand mixer until fluffy; this takes about 10 minutes. Keep the cream in the fridge until you’re ready to whip it, since cold cream whips more easily, the opposite of the eggs above. Add the mascarpone, sugar, and vanilla extract to the whipped cream and mix well with the hand mixer.
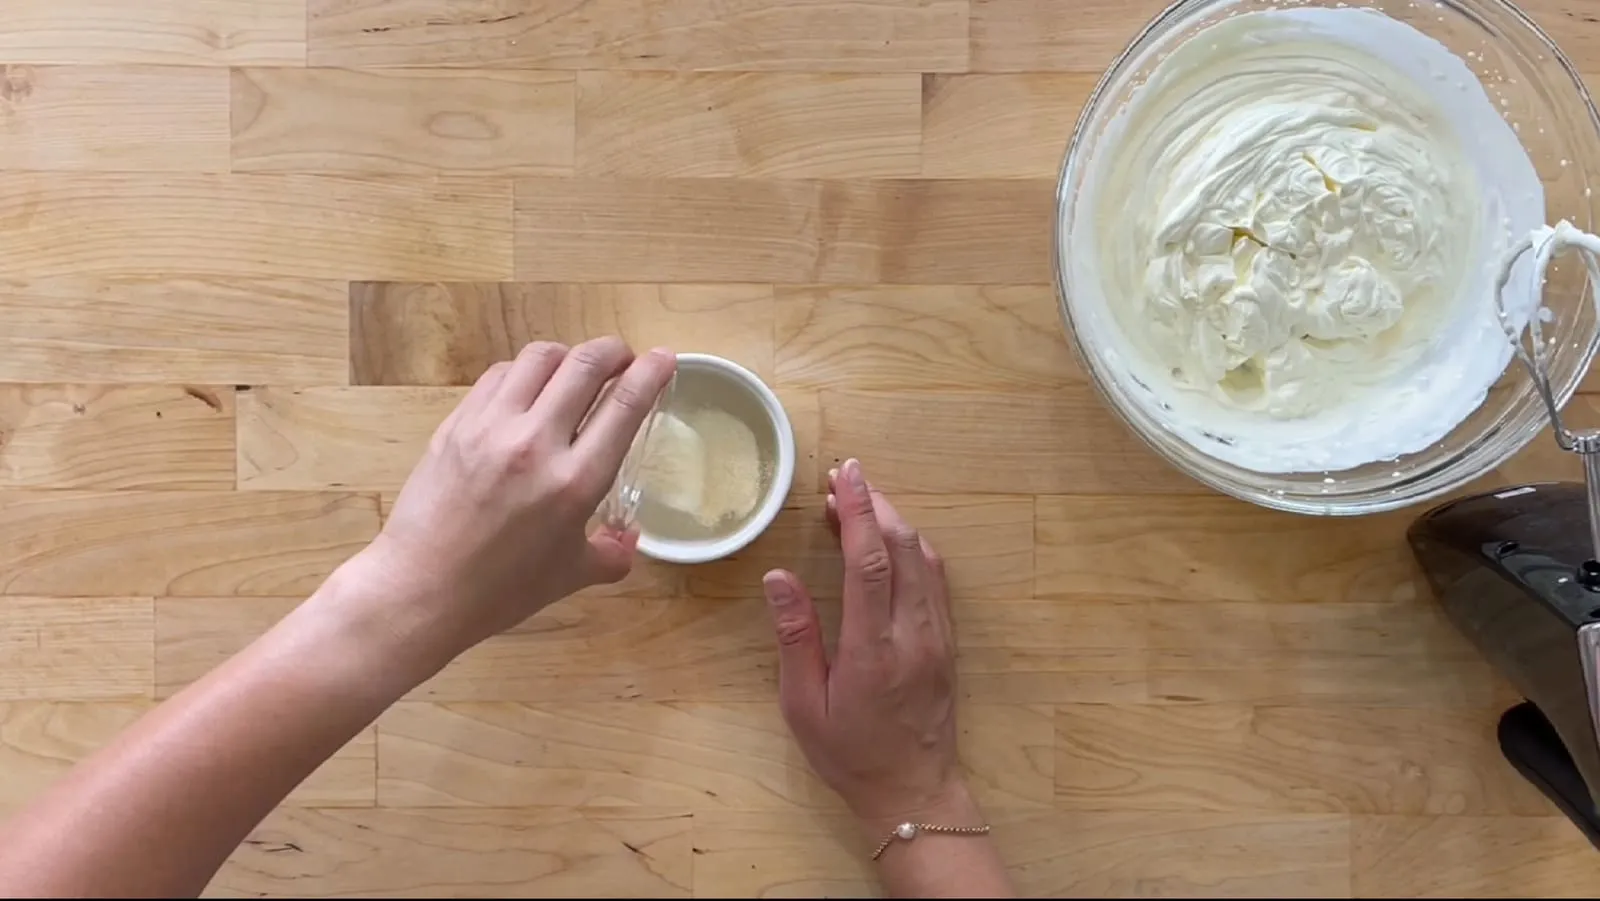
In a small bowl, add 3 tablespoons of cold water, then sprinkle in the gelatin and let it sit for 5 minutes to dissolve.
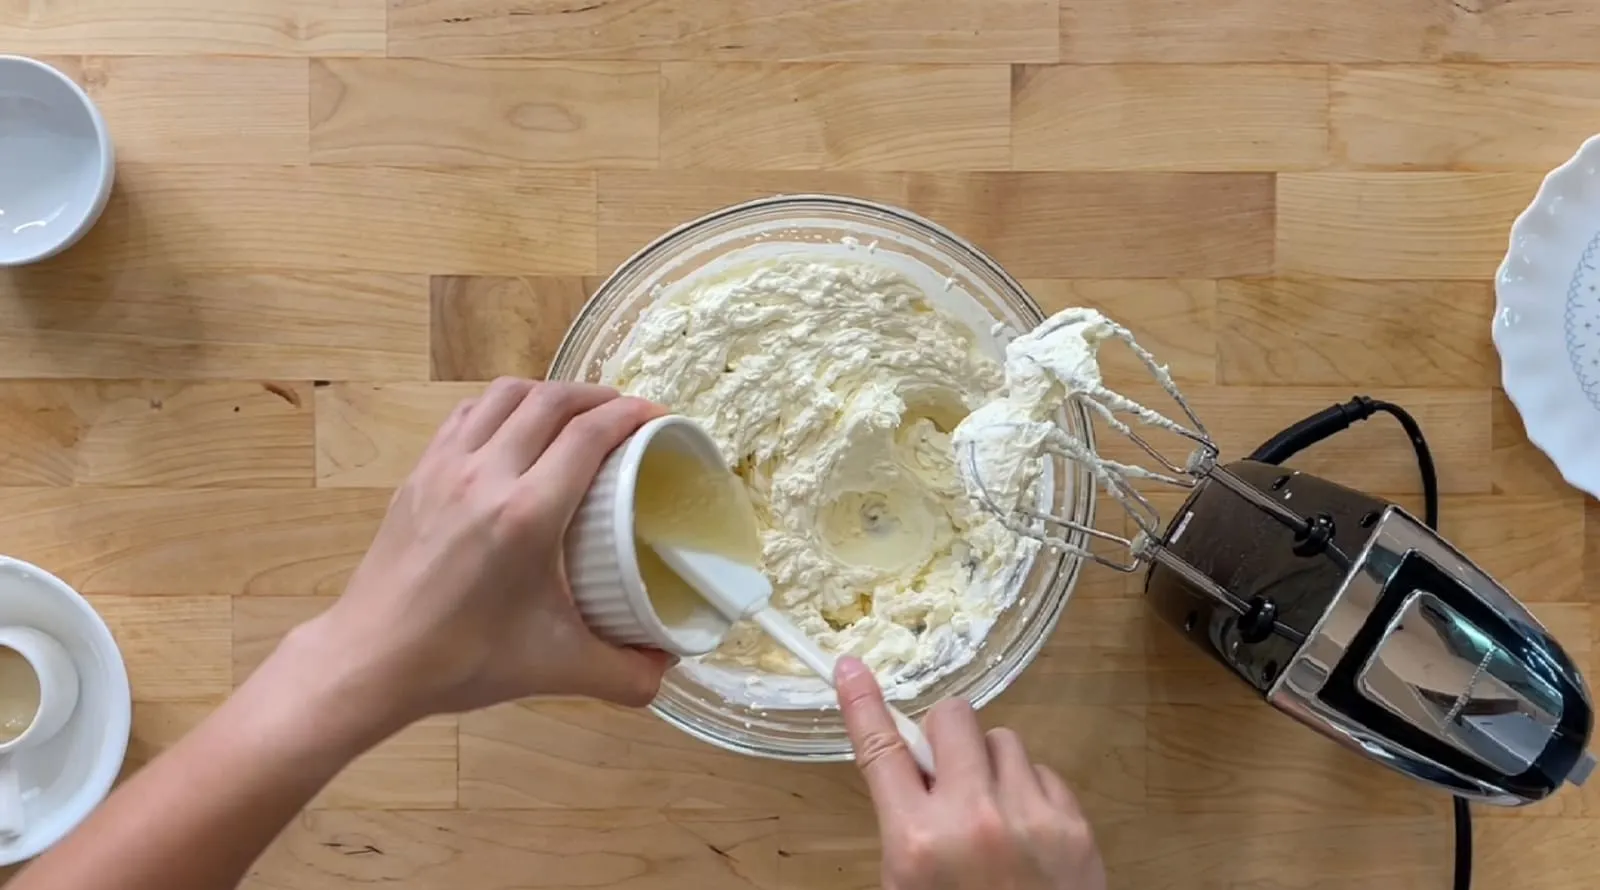
Once the gelatin has dissolved, add it to the mascarpone mixture and mix well.
3. Assembling the cake
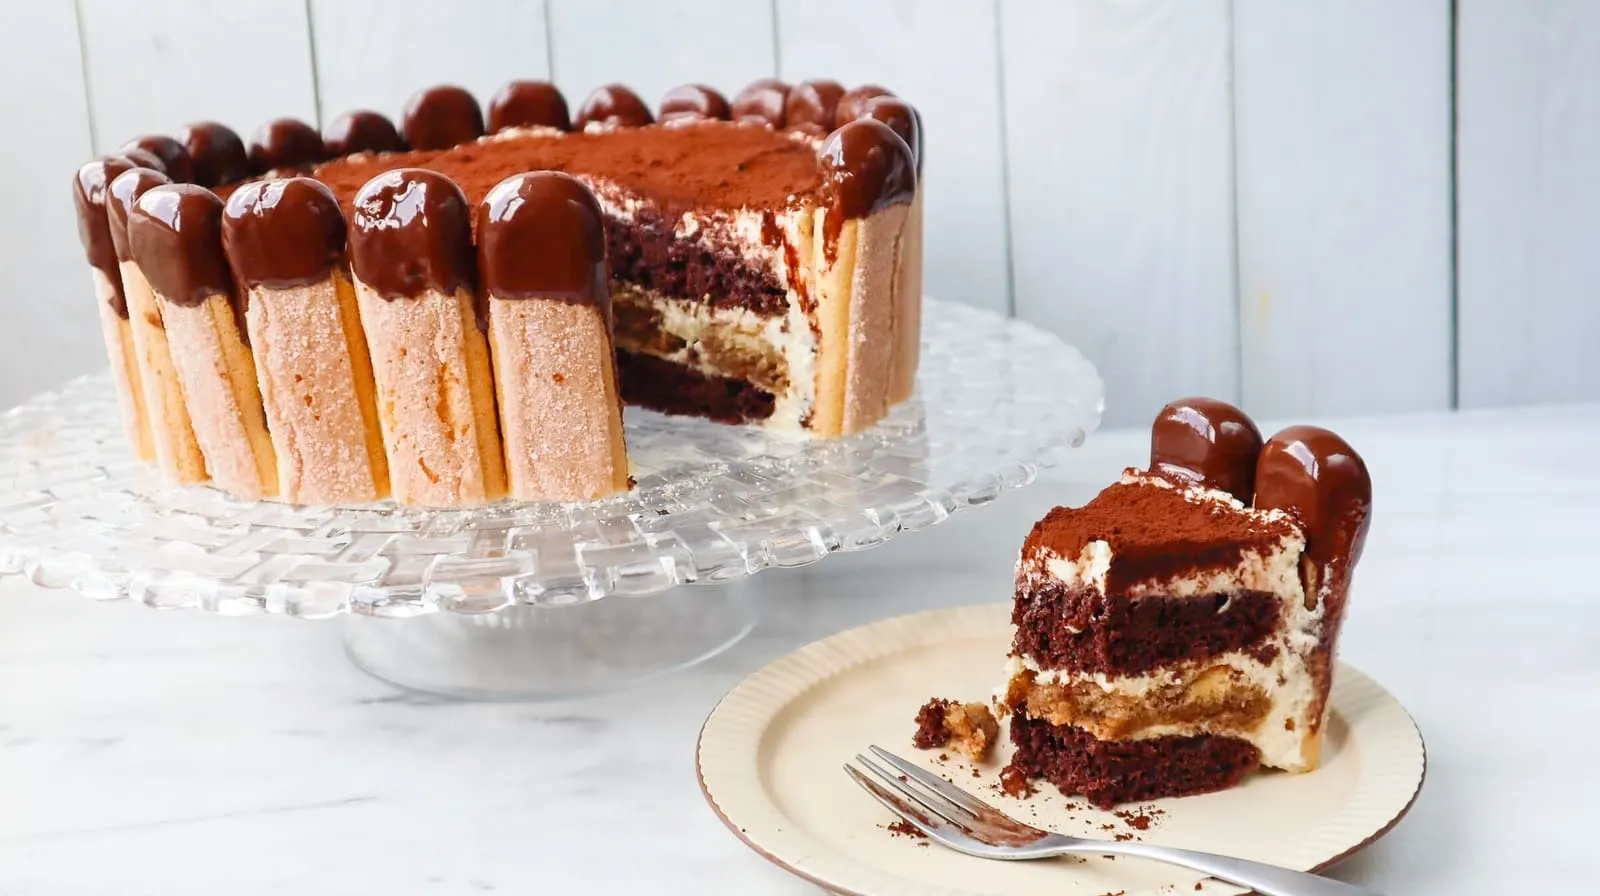
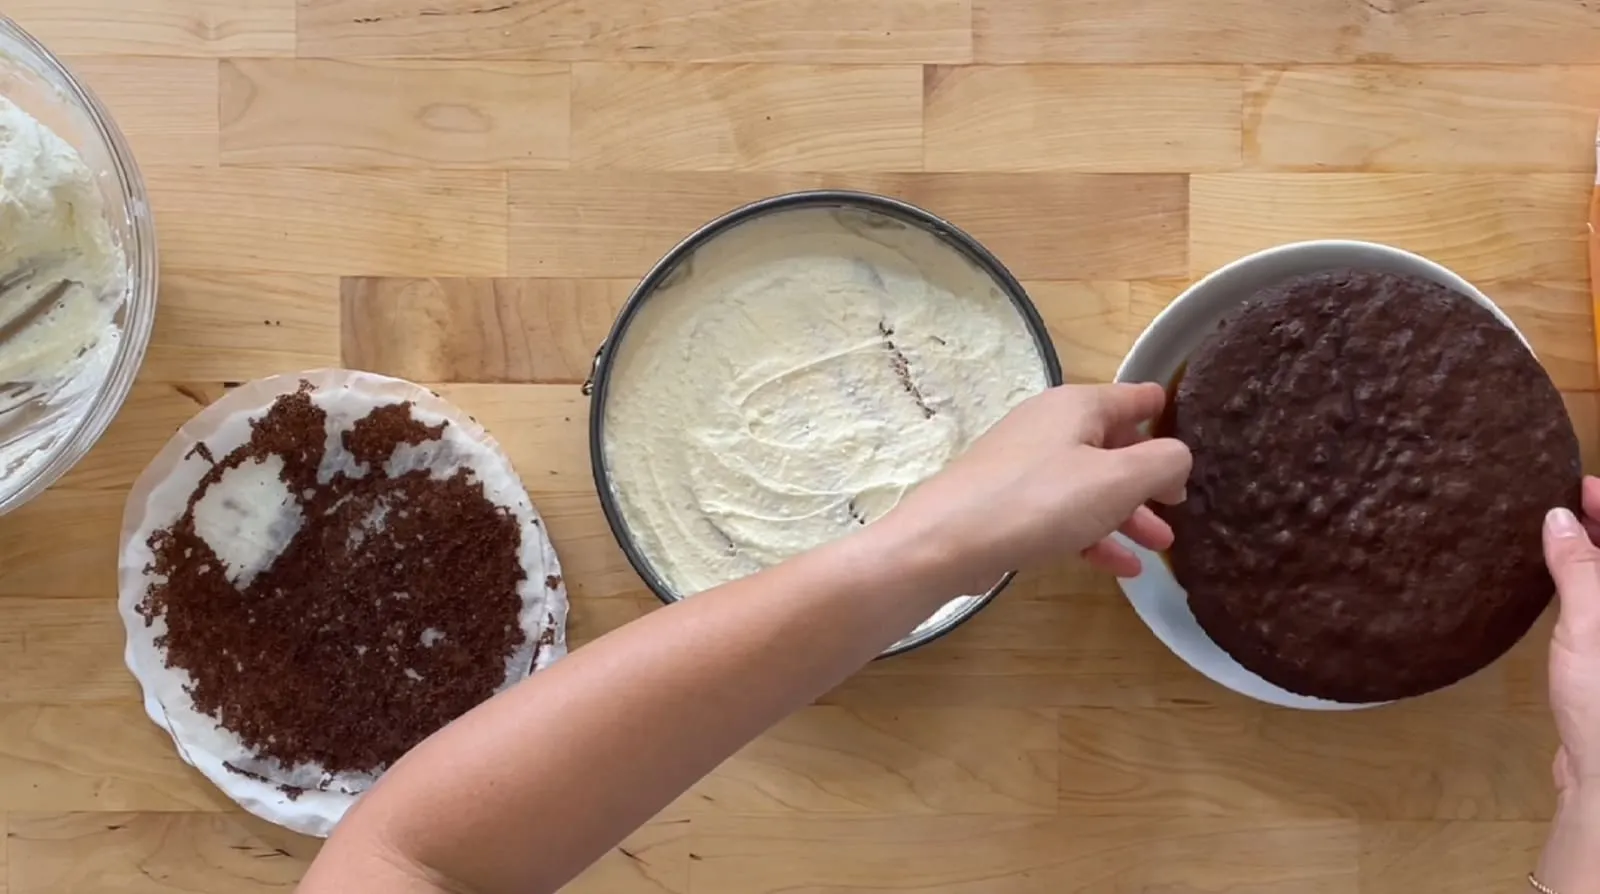
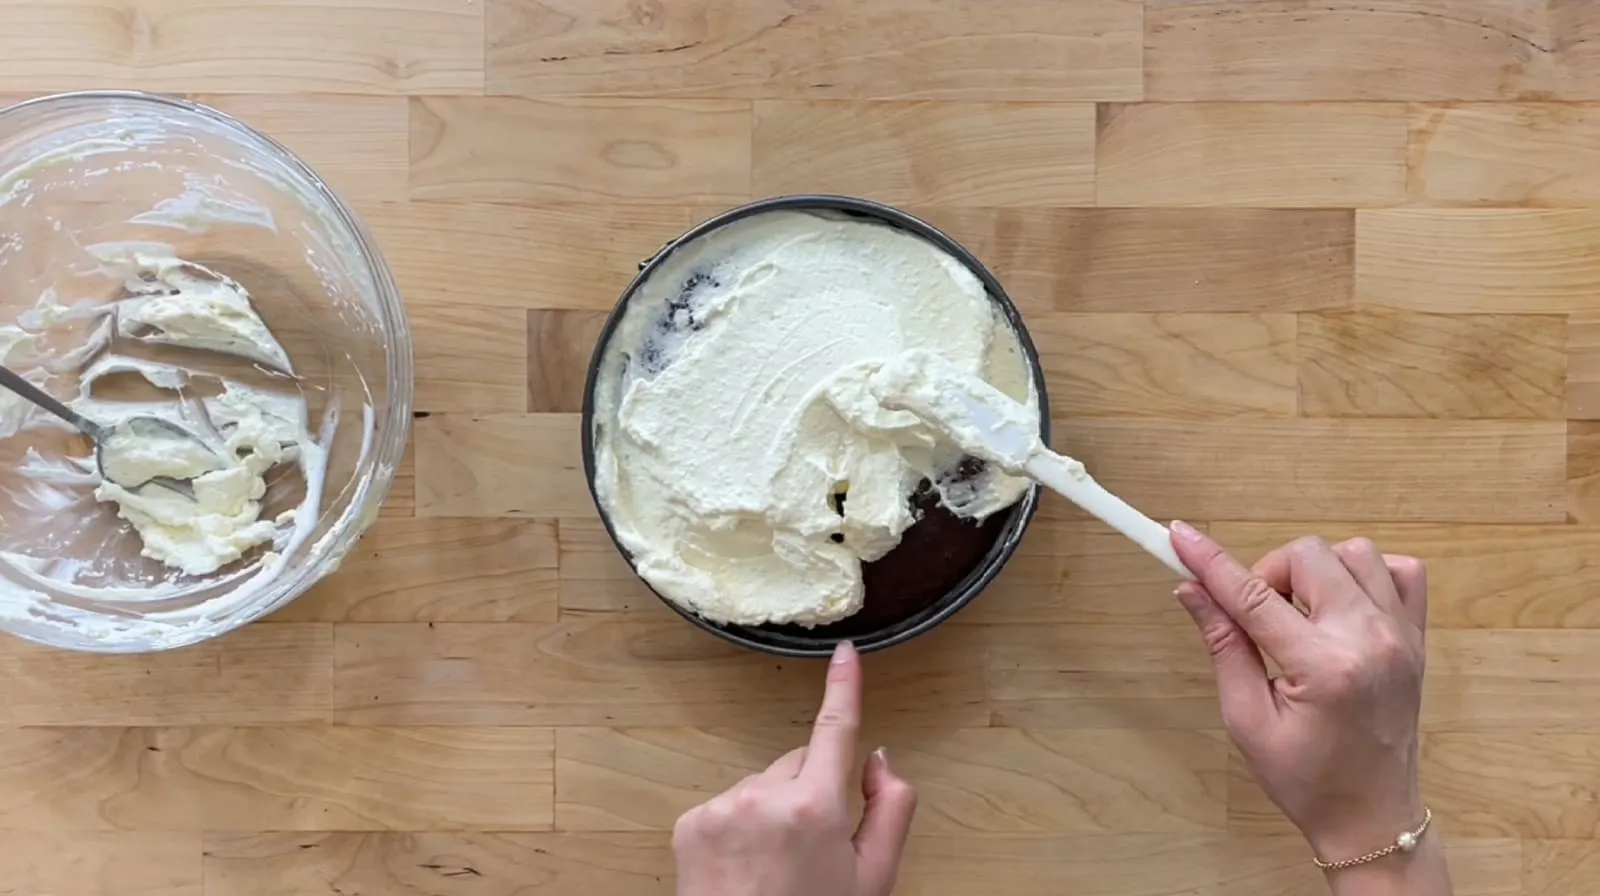
Each layer, from bottom to top Layer 1: take the pan you unmolded, lock it back together, and place one layer of chocolate cake on the bottom (or one half, if you cut it). Layer 2: add 1/3 of the cream and smooth it with a spoon, filling the gaps around the edges with cream too Layer 3: coffee-soaked ladyfingers (method below) Layer 4: add 1/3 of the cream (smooth it with a spoon, filling the gaps around the edges too) Layer 5: the other layer/half of chocolate cake, brushed with coffee and brandy Layer 6: the remaining 1/3 of the cream (smooth it with a spoon, filling the gaps around the edges too)
4. Coffee-soaked ladyfingers
In a dish or large bowl at least 5cm deep, add the coffee and brandy and stir with a spoon. Roll each ladyfinger in the coffee and brandy quickly, 2-3 turns, then immediately place it on the cream. If you soak them too long, the ladyfingers will go soft and break. That’s actually fine, but they’re harder to pick up. If you don’t roll them long enough, though, they won’t soak up the flavor. Don’t be afraid; after two ladyfingers, you’ll get the hang of it. Line the ladyfingers up one by one to cover the cream.
Refrigerate the assembled cake for at least 4 hours or overnight
5. Unmolding and decorating
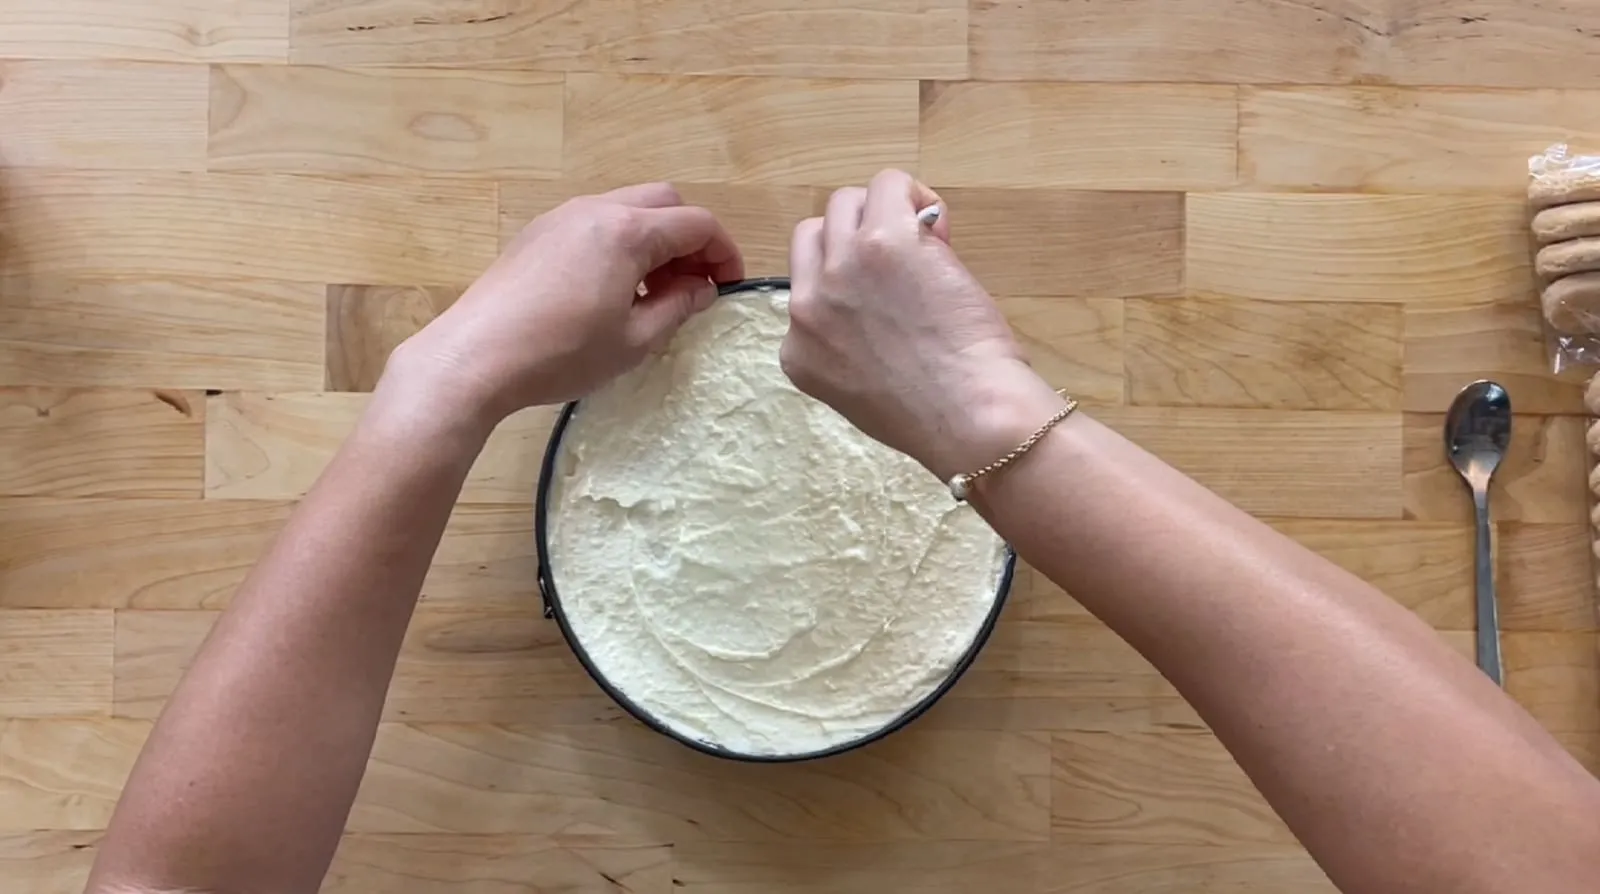
Take the cake out and run a hair dryer around the outside of the pan, or run a knife around the edge. Then unmold it and place it on a serving plate. If you’re going to package it, place the cake on a paper cake board.
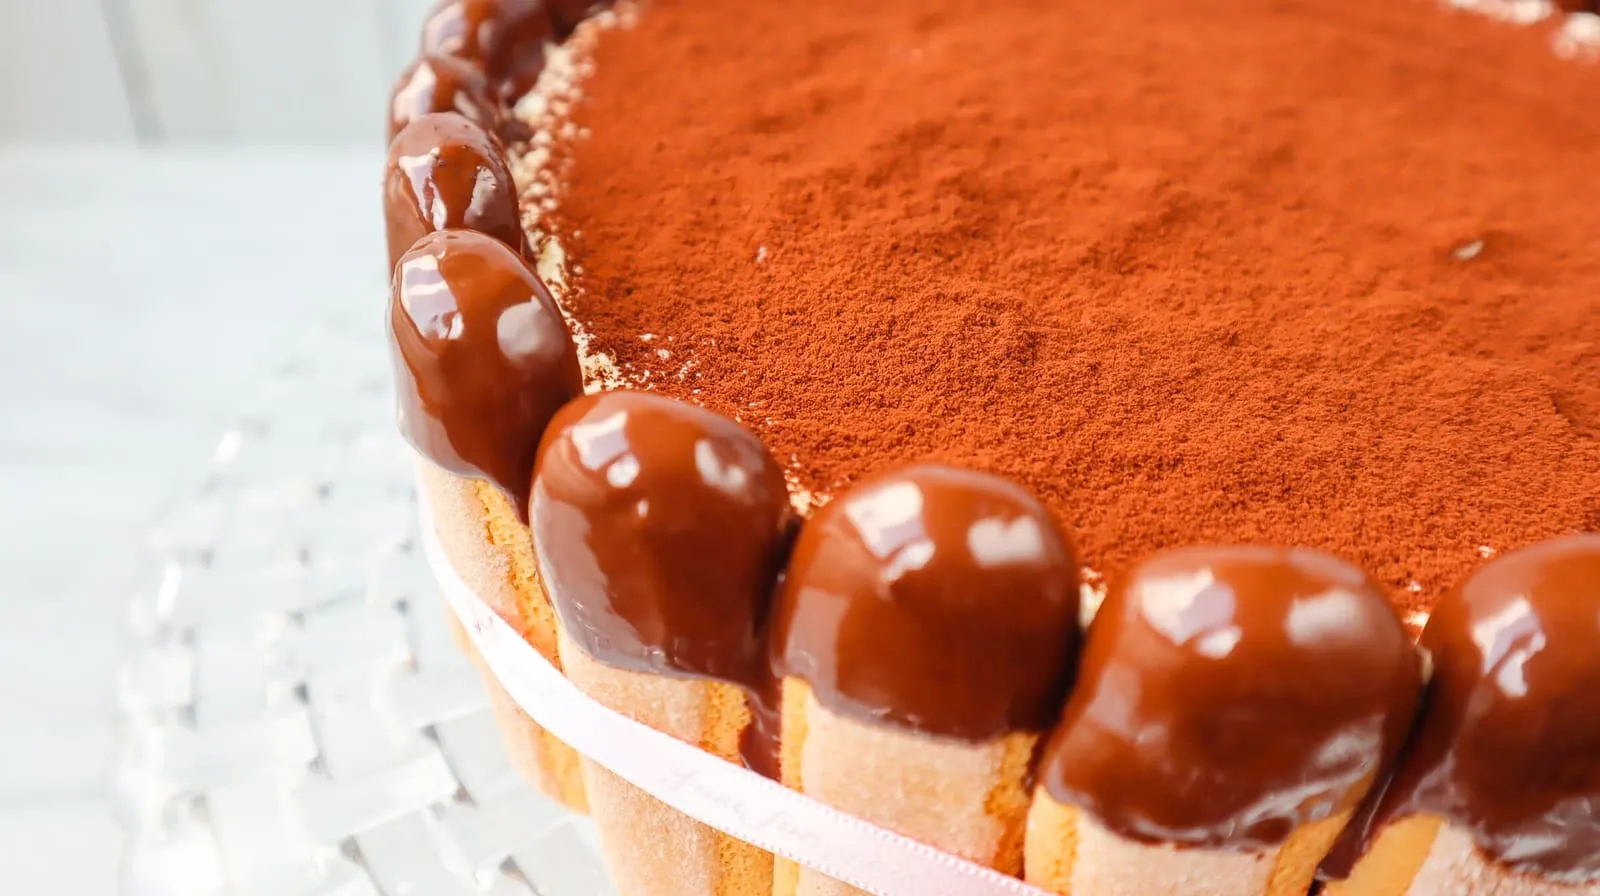
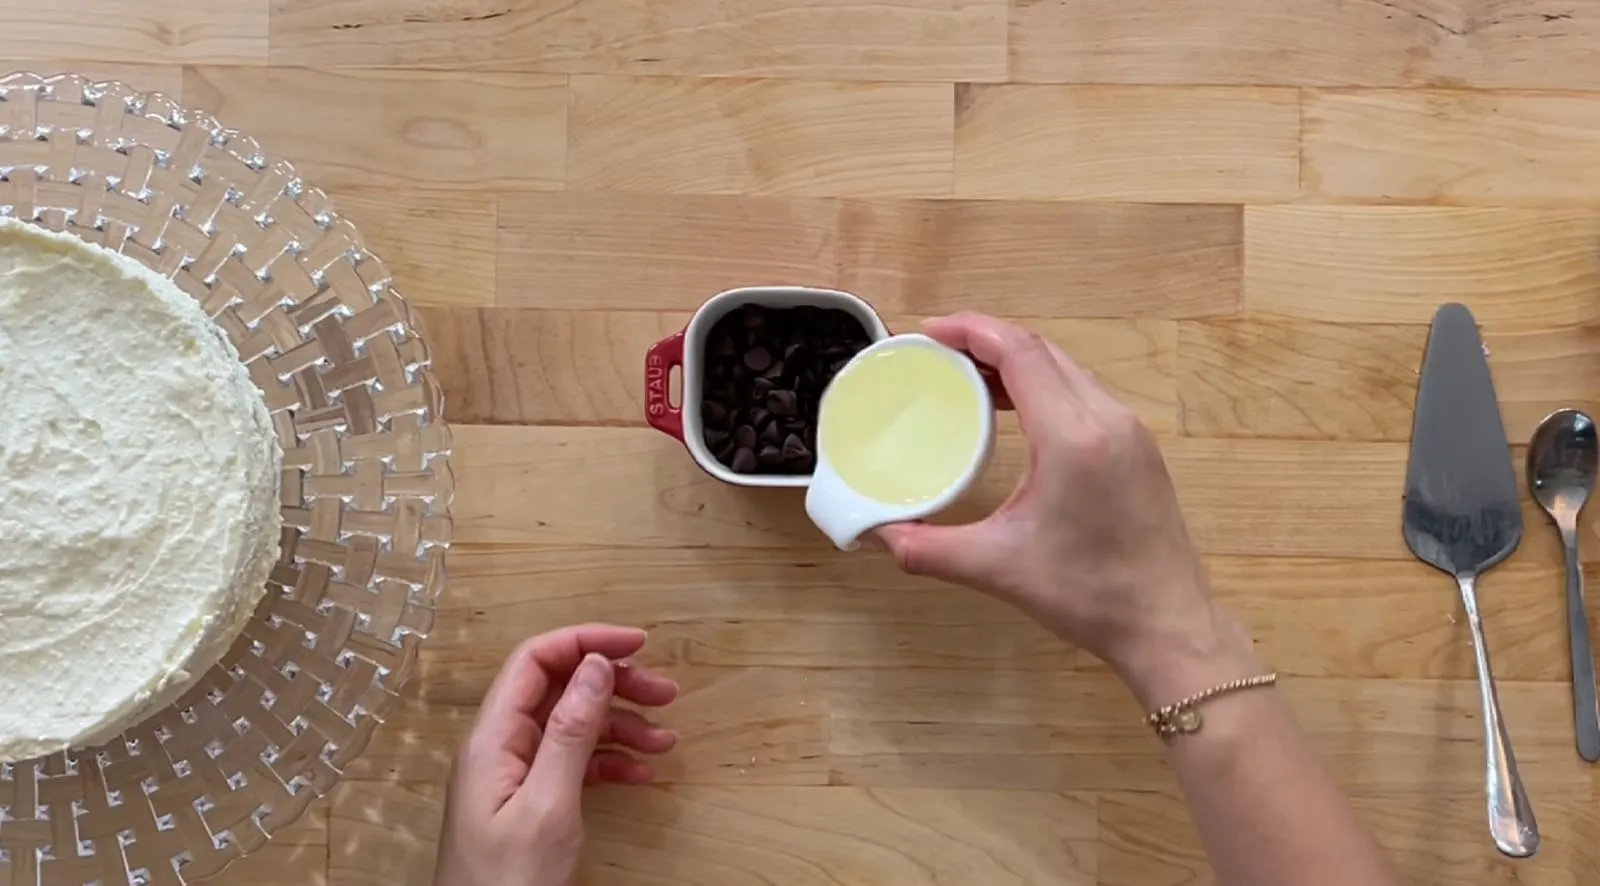
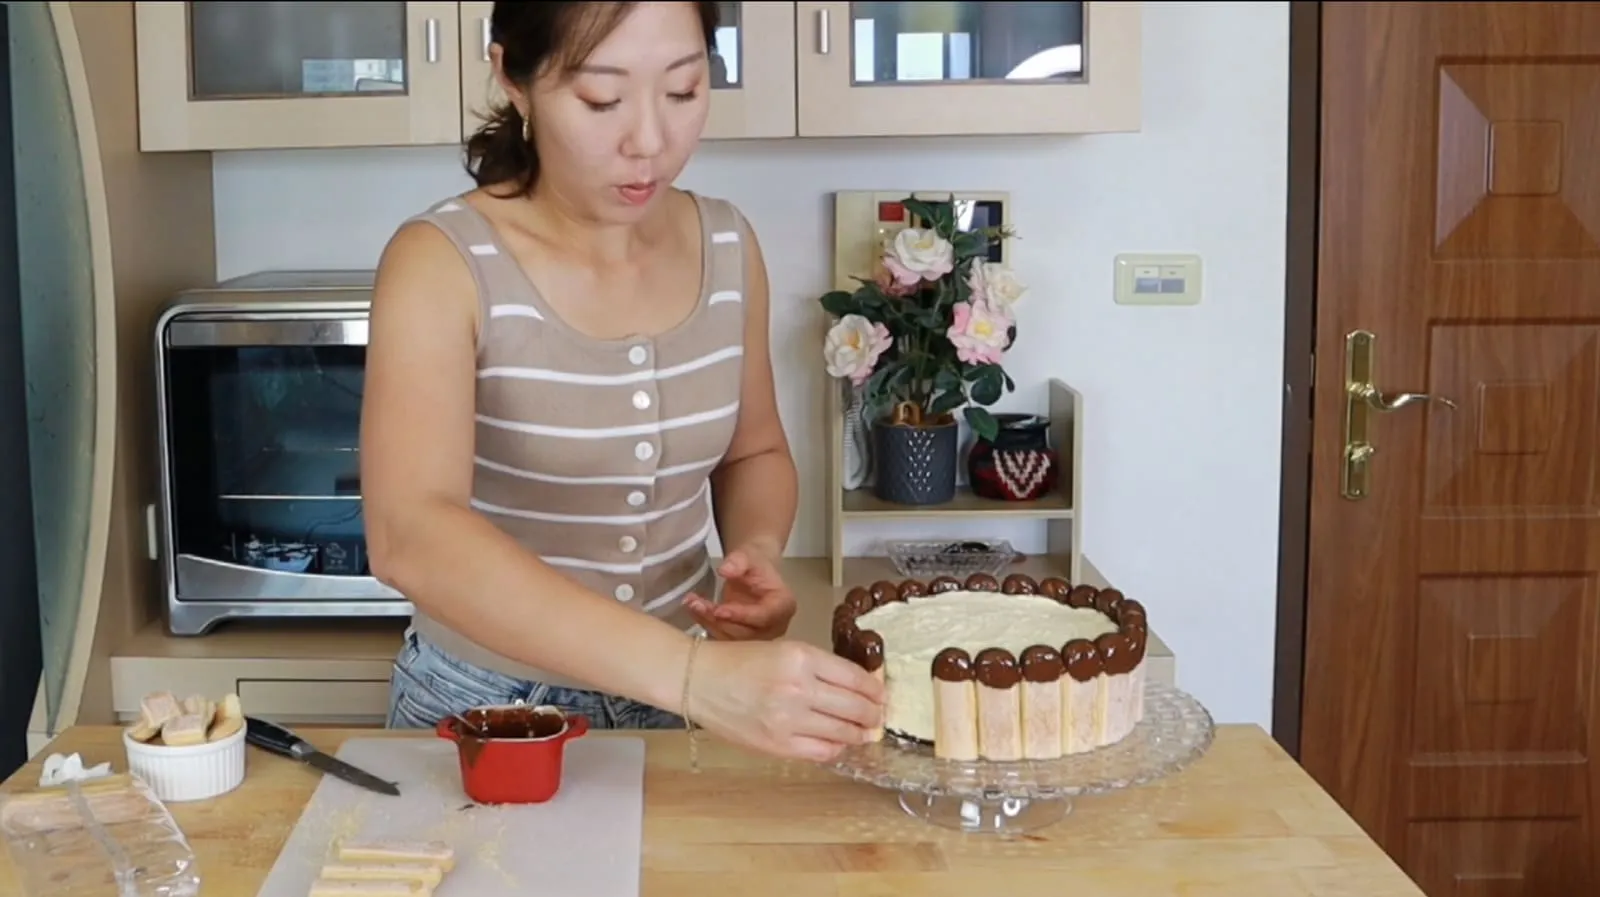
Add the oil to the chocolate and melt it over a double boiler or in the microwave. If you use the microwave, be careful not to burn the chocolate. Next, prepare the ladyfingers. Trim them so they’re a little taller than the cake, then dip the rounded (not the flat) end in chocolate. How far up you dip is up to you; no need to chase perfection. Spread a layer of chocolate on the back of each ladyfinger too, then press the chocolate side against the cake. Repeat until the cake is surrounded by ladyfingers.
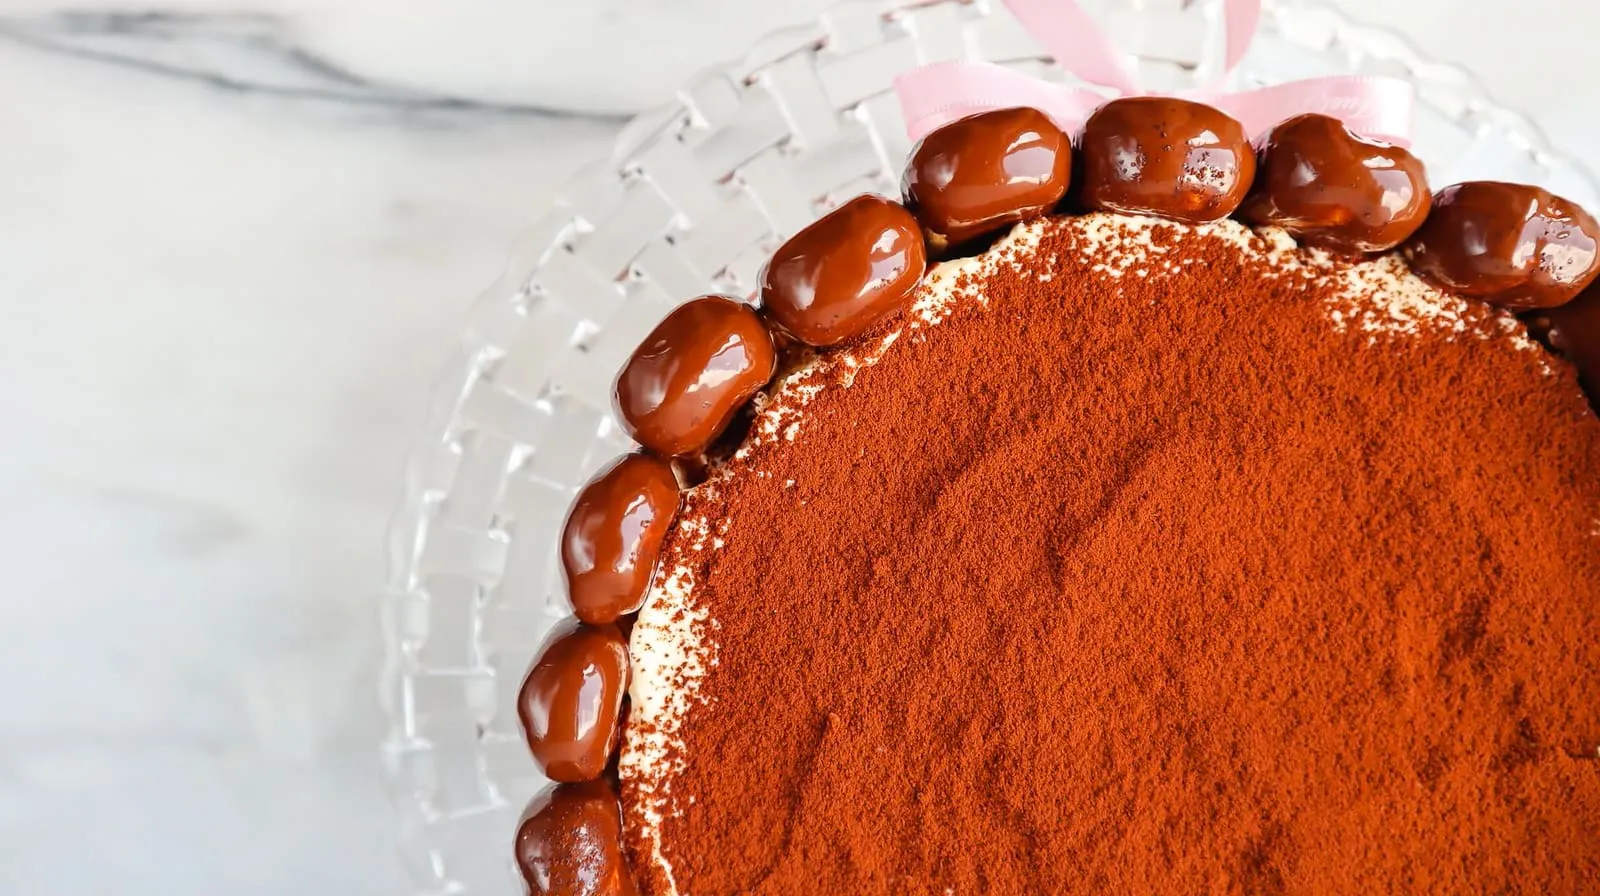
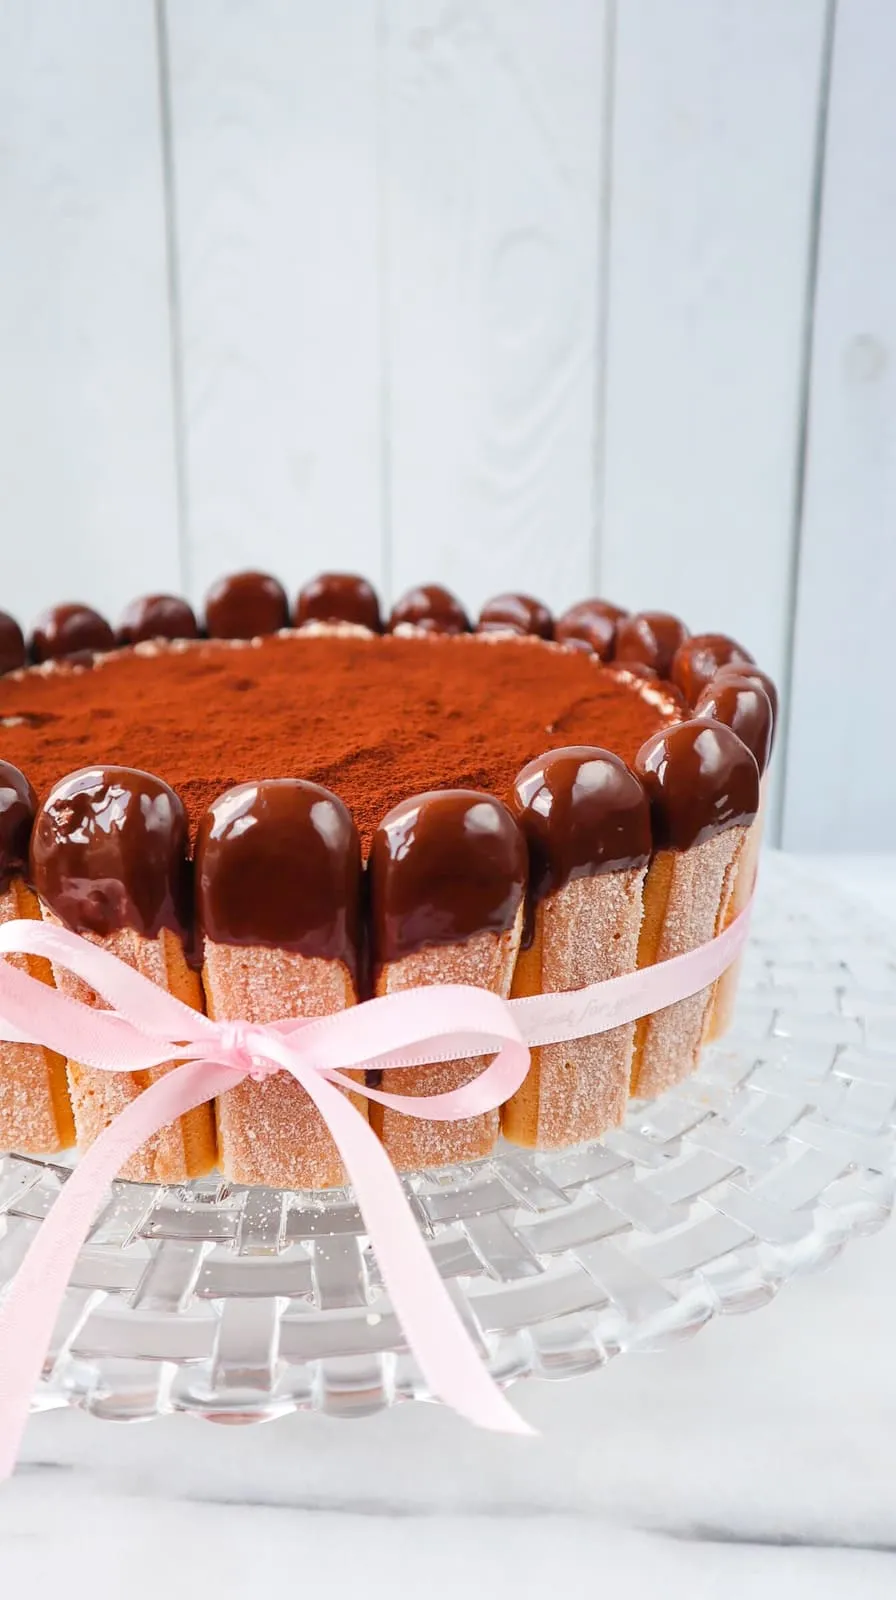
Finally, dust the top with non-melting cocoa powder through a fine sieve, tie a ribbon around the cake, and finish with a bow. Done!
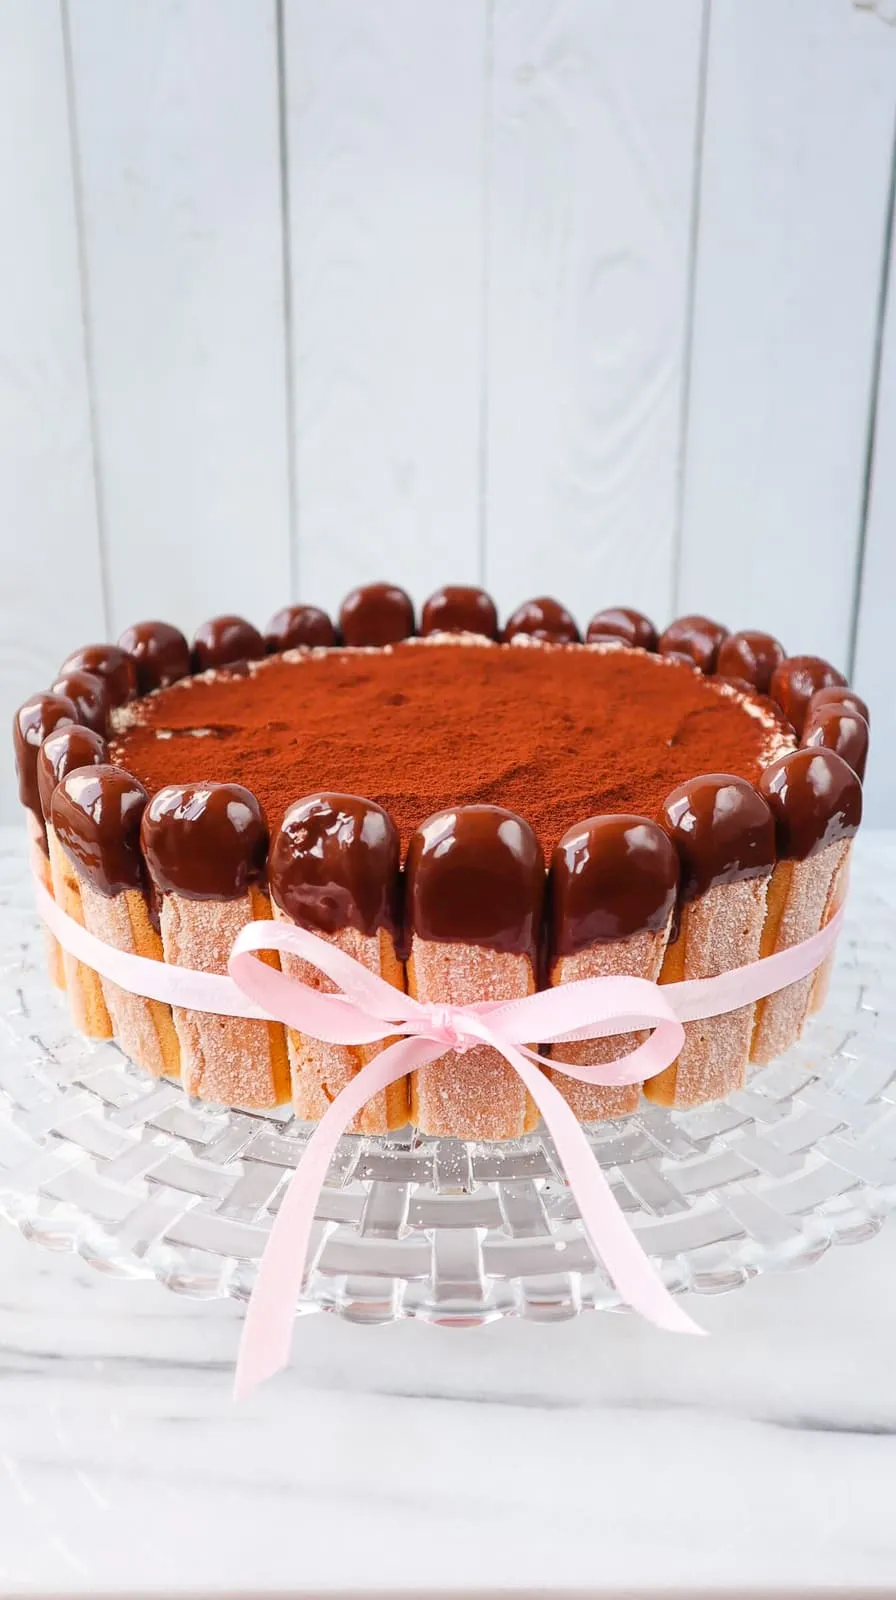
How to make tiramisu charlotte cake
Dust the top with non-melting cocoa powder through a fine sieve, tie a ribbon around it, and finish with a bow. Done
Tiramisu Charlotte Cake
- Prep
- 40 min
- Cook
- 25 min
- Total
- 1 hr 5 min
- Servings
- 12
Ingredients
For the cake
For the filling
For the decoration
Instructions
Chocolate Sponge Cake
-
Preheat the oven to 180°C/356°F.
-
Put the room-temperature eggs and sugar in a large bowl and beat with a hand mixer for 10 minutes, until the eggs turn pale yellow, double in volume, and are light and airy. Then add the salt and mix well.
-
In another bowl, sift the flour, baking powder, and cocoa powder through a fine sieve.
-
Add the sifted flour to the beaten eggs in two additions. Using a spatula, fold it in with a figure-8 motion. As soon as it's evenly combined, stop; don't overmix.
-
Take an 18cm (7-inch) round cake pan and line the bottom with parchment paper. Pour in the cake batter and bake at 180°C (356°F) for 25 minutes. (If you have two pans, divide the batter between them and bake at 180°C (356°F) for 20 minutes.)
-
Unmold the baked cake and let it cool. Once cool, slice it horizontally into two layers.
Mascarpone Cream Filling
-
Take the cream out of the fridge and whip it with a hand mixer until fluffy, about 10 minutes. Add the mascarpone, sugar, and vanilla extract to the whipped cream and mix well with the hand mixer.
-
In a small bowl, add 3 tablespoons of cold water, then sprinkle in the gelatin and let it sit for 5 minutes to dissolve.
-
Once the gelatin has dissolved, add it to the cream and mix well.
Assemble the Cake
-
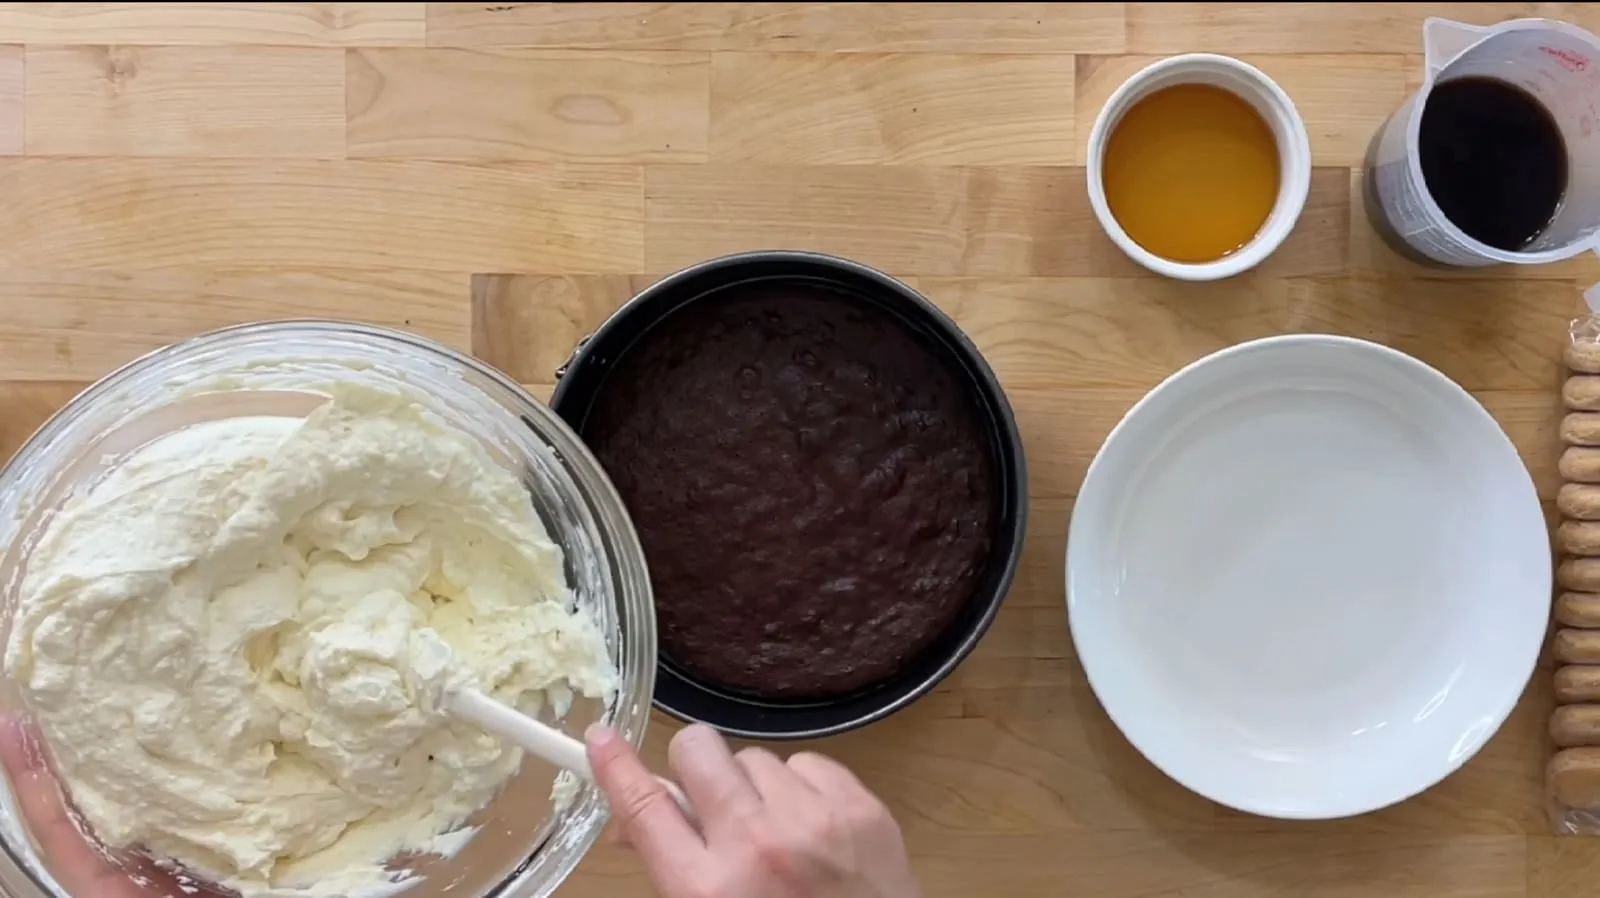
Take the pan you baked the cake in and place one layer of chocolate cake on the bottom (or one half, if you cut it).
-
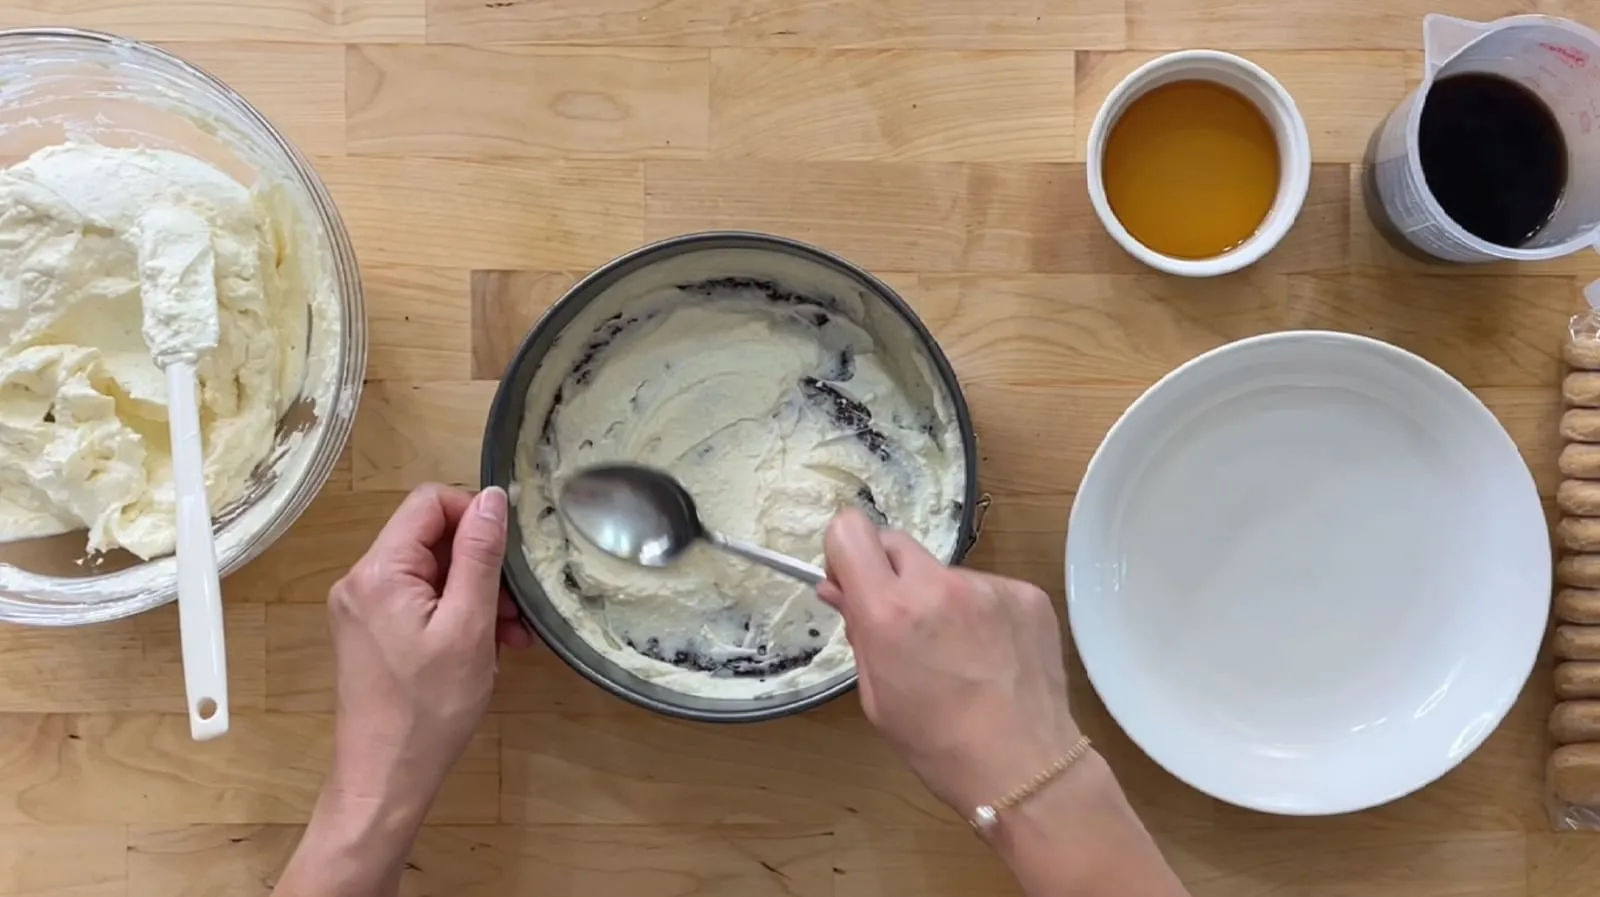
Add 1/3 of the cream and smooth it with a spoon, making sure to fill the gaps around the edges with cream too.
-
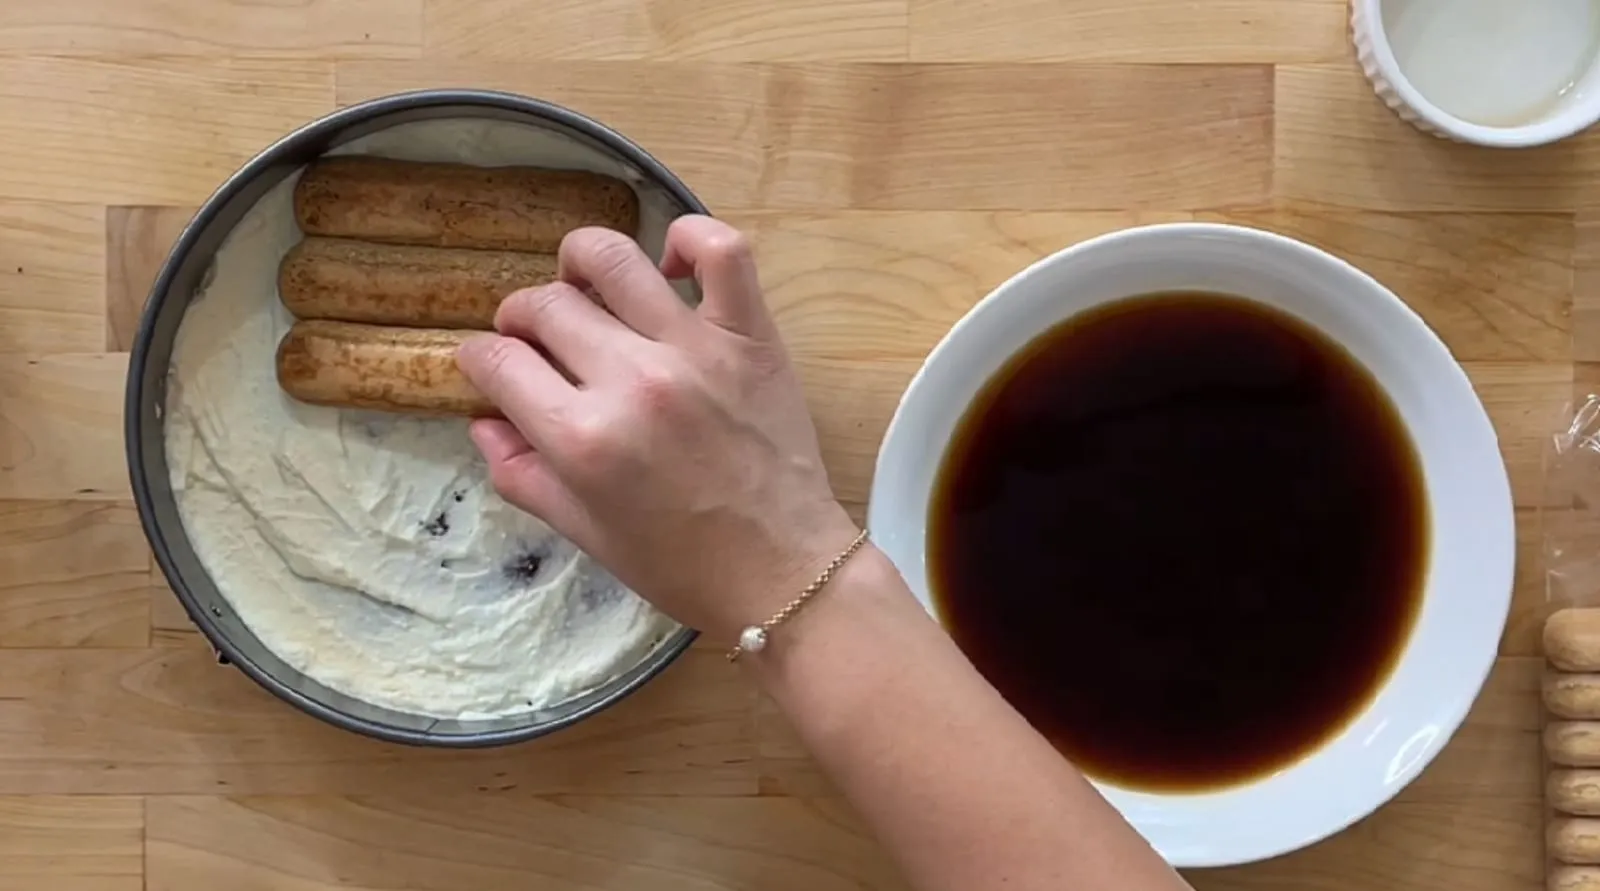
In a dish or large bowl at least 5cm deep, add the coffee and brandy and stir with a spoon. Roll each ladyfinger in the coffee and brandy quickly, 2-3 turns, then immediately place it on the cream. You should fit about 7.
-
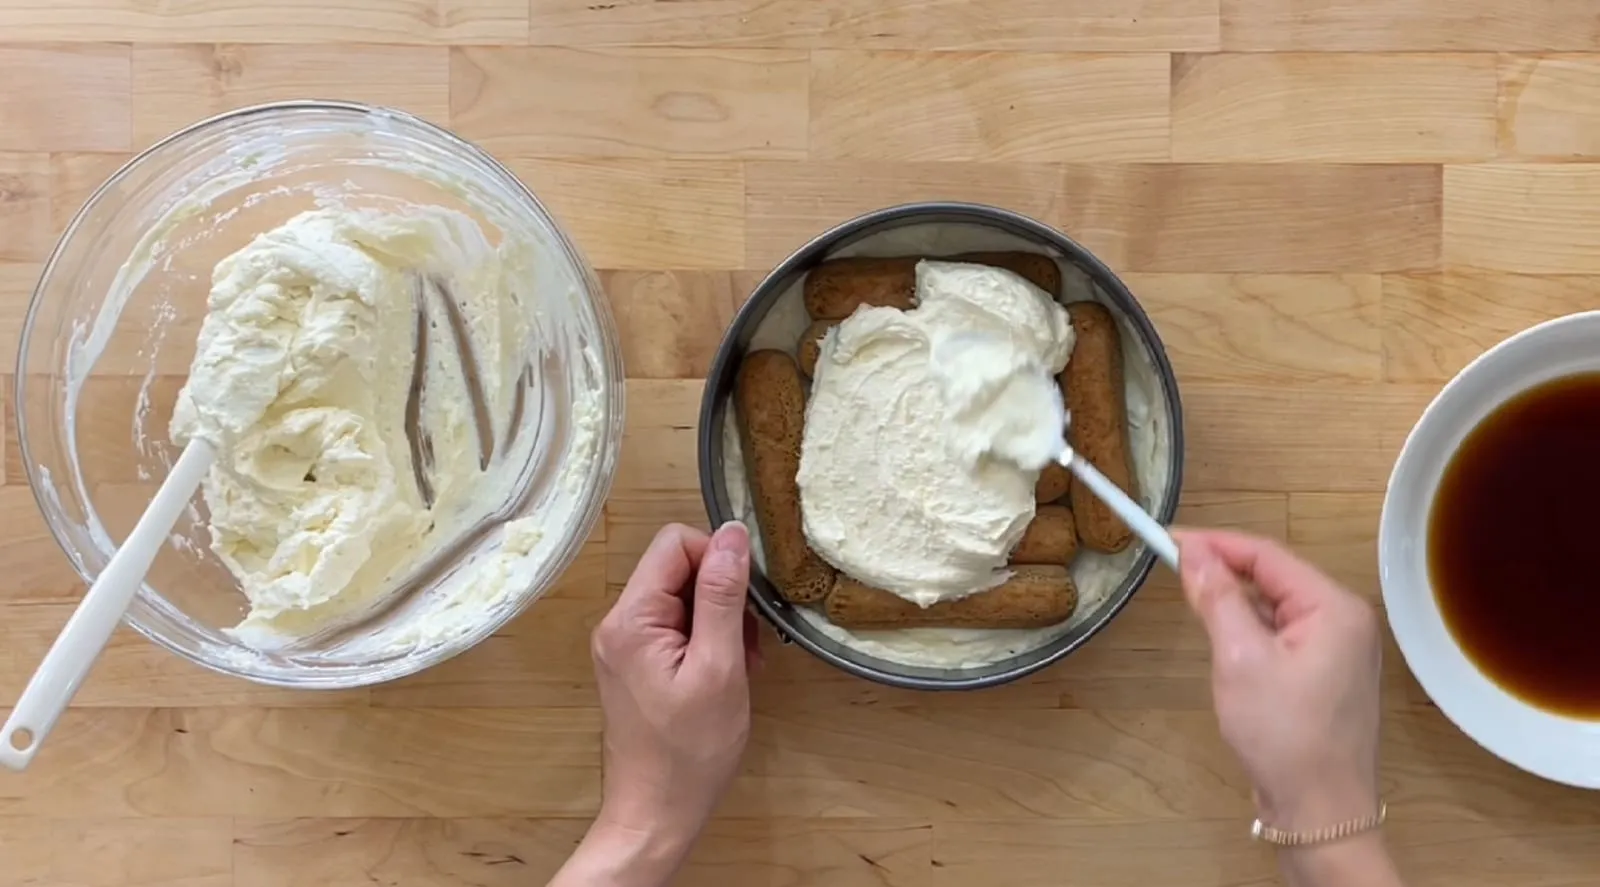
Add another 1/3 of the cream (smooth it with a spoon, filling the gaps around the edges too).
-
Brush the other layer/half of chocolate cake with coffee and brandy, then place it on the cream.
-
Finally, add the remaining 1/3 of the cream (smooth it with a spoon, filling the gaps around the edges too).
-
Refrigerate for at least 4 hours, or ideally overnight.
Unmold and Decorate
-
Take the cake out of the fridge and run a hair dryer around the outside of the pan, or run a knife around the edge, to unmold it. Then transfer it to a serving plate or the base of a cake box.
-
Add the oil to the chocolate and melt it over a double boiler or in the microwave.
-
Trim 18-20 ladyfingers so they're a little taller than the cake. Dip the rounded end in chocolate and spread a layer of chocolate on the back of each ladyfinger, then press the chocolate side against the cake. Repeat until the cake is surrounded by ladyfingers.
-
Finally, dust the top with non-melting cocoa powder through a fine sieve, tie a ribbon around the cake, and finish with a bow. Done!