Creating My Dream Home Office: A Stylish, Comfortable Workspace in a Small Space
Create a small home office of your own, a place where you can focus quietly. With a little creativity, you can decorate it in your own style and make working from home stylish too!
By Amanda Chang
This page was machine-translated and may contain errors.
More and more people need to work from home, but without a dedicated space it’s easy to get distracted and hard to stay productive. This time I’m sharing the whole process with you: how I chose a spot for my home office, picked a desk and chair, made a simple mock-up, and put everything together. If you’d like to transform your own home workspace, just remember a few basic principles and use your creativity, and you can easily create a space in your own style. - I can’t wait to see the home workspace you create in your own style!
After I shared my declutter-everything cleaning marathon using the life-changing magic of tidying up, thank you to all of you who shared your own experiences and tried the KonMari method too. After seeing all your photos, I have to say you’re all home organizing masters, which made me feel a little embarrassed! And a special thank you to those who wrote to me about how their state of mind changed after decluttering and how much they’re enjoying that feeling of calm. If you haven’t read my post yet, you’re welcome to join the ultimate home tidying movement any time ➢ “The Life-Changing Magic of Tidying Up”: 10 Key Takeaways
Because I finally got our home properly organized, I at last had the chance and the space to create the dream home office I’d always wanted. This was an important project I’d been wanting to tackle for a long time, and now I can finally invite you all to visit my home office. In this post I want to share everything step by step: where to put your desk, how to decide which desk and chair to buy, how to design a simple visual mock-up, and how to arrange things the way you imagined. Even if your space isn’t big and you don’t have the budget for luxurious furniture and decor, that’s no problem. As long as you understand the basic principles and use your creativity, you can create your own perfect office.
1. Find the Right Spot for Your Desk
A. Separate the space from your living area as much as possible
Without a fixed workspace, your daily routine and work hours can get tangled together. Carrying your laptop around to work in bed and on the sofa means your brain never gets a break from work and can’t properly rest. So it’s important to separate your work and rest spaces, which also makes it easier to focus. If you work on the sofa, you’ll probably keep wanting to turn on the TV. If you only have one room, try to place your desk away from your bed, for example in the diagonally opposite corner.
B. Find a well-ventilated spot with good natural light
Just like when you’re looking at apartments, if possible your workspace should be well ventilated with good airflow, so you can breathe easily while you work, keep a clear head, and focus better. That said, don’t put it right next to the window, because when it’s noisy or windy by the window, you won’t be comfortable either. I also love spaces with natural light. Besides being good for your eyes, a naturally lit space just feels so pleasant.
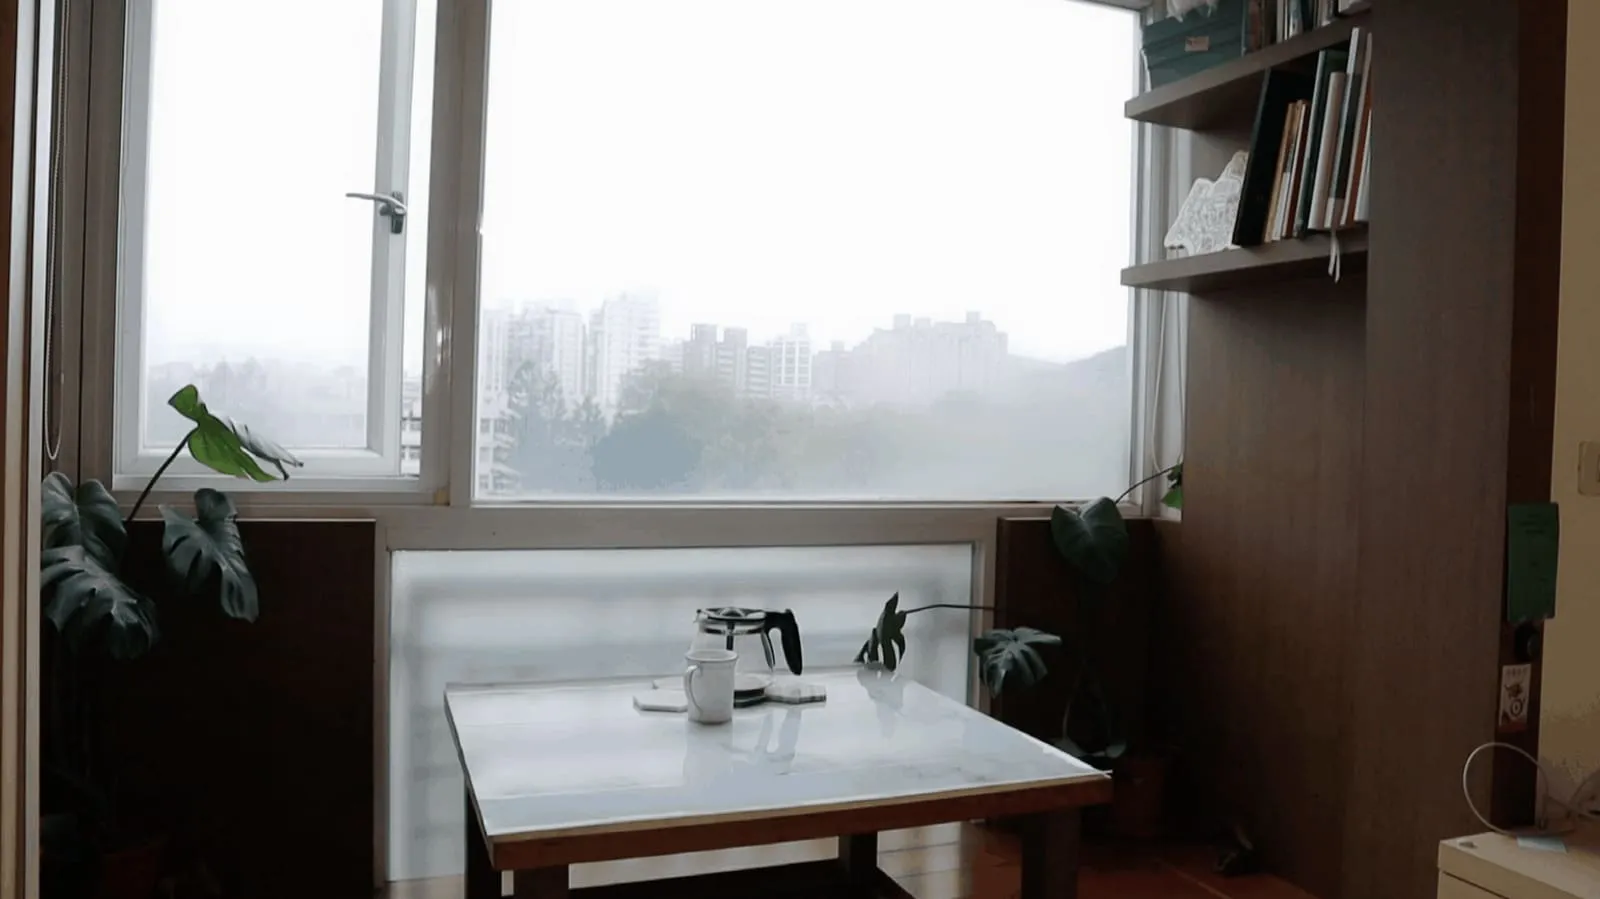
A well-ventilated space with plenty of natural light is the best choice for an office or study.
C. A space where you can have some privacy
Whether you have kids at home, roommates, or noisy neighbors, working from home without interruptions is always a challenge. So when you choose where to put your desk, make sure it gives you some degree of privacy so you can focus. For example, don’t put your desk where people are always walking past. It should be a quiet corner where you won’t be disturbed.
2. Invest in a Comfortable Desk and Chair
What supports you most when you work in this space is a comfortable desk and chair, so investing in them is important, because once we sit down we may be there for hours. If you choose a desk and chair that don’t fit your height or build, poor posture can easily lead to neck, shoulder, and hand pain. When buying a desk, make sure it’s the right height.
You don’t have to spend a fortune on a high-end standing desk or an ergonomic chair. What matters is choosing a desk that suits your body and height.
I bought both my desk and chair at IKEA. The tabletop and legs are sold separately, so you can assemble them yourself. I chose a 120 cm white tabletop and paired it with natural wood legs. It’s simple, clean, and looks high quality. I really love it.
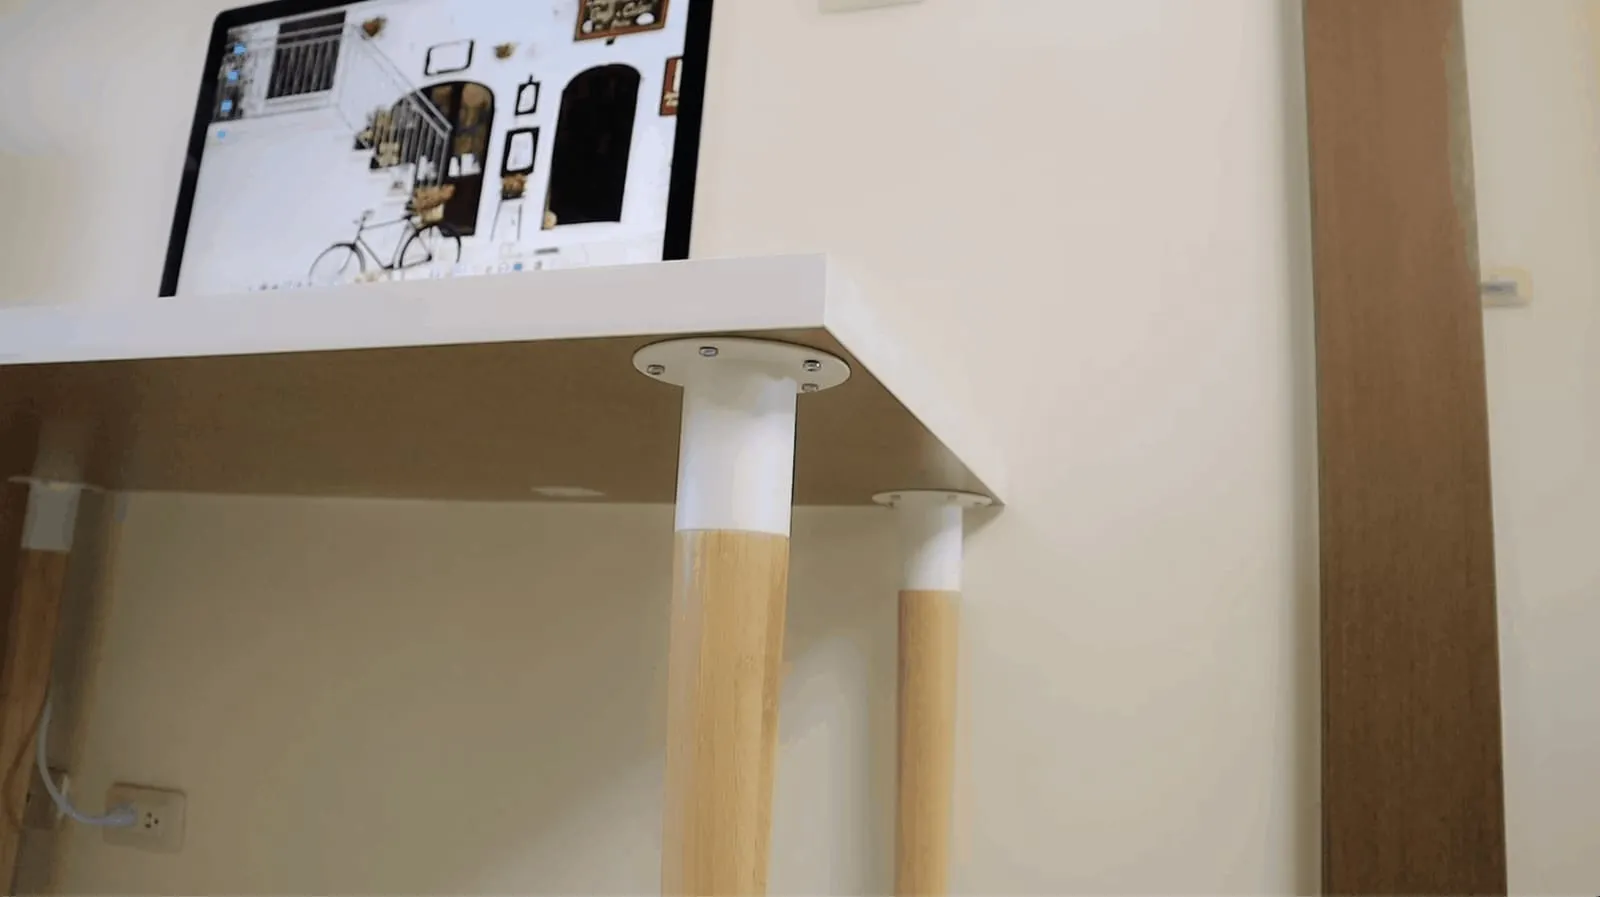
My IKEA desk: a white tabletop with natural wood legs. Super easy to assemble, simple and stylish.
The chair I chose was a new model in 2020. It looks simple and unremarkable, but it’s incredibly comfortable, and for my height the lower back support is just right. To keep the overall look white and understated, I chose a beige seat with white legs. I went with beige rather than all white to add some layering so the whole thing wouldn’t be too white. It looks so beautiful.
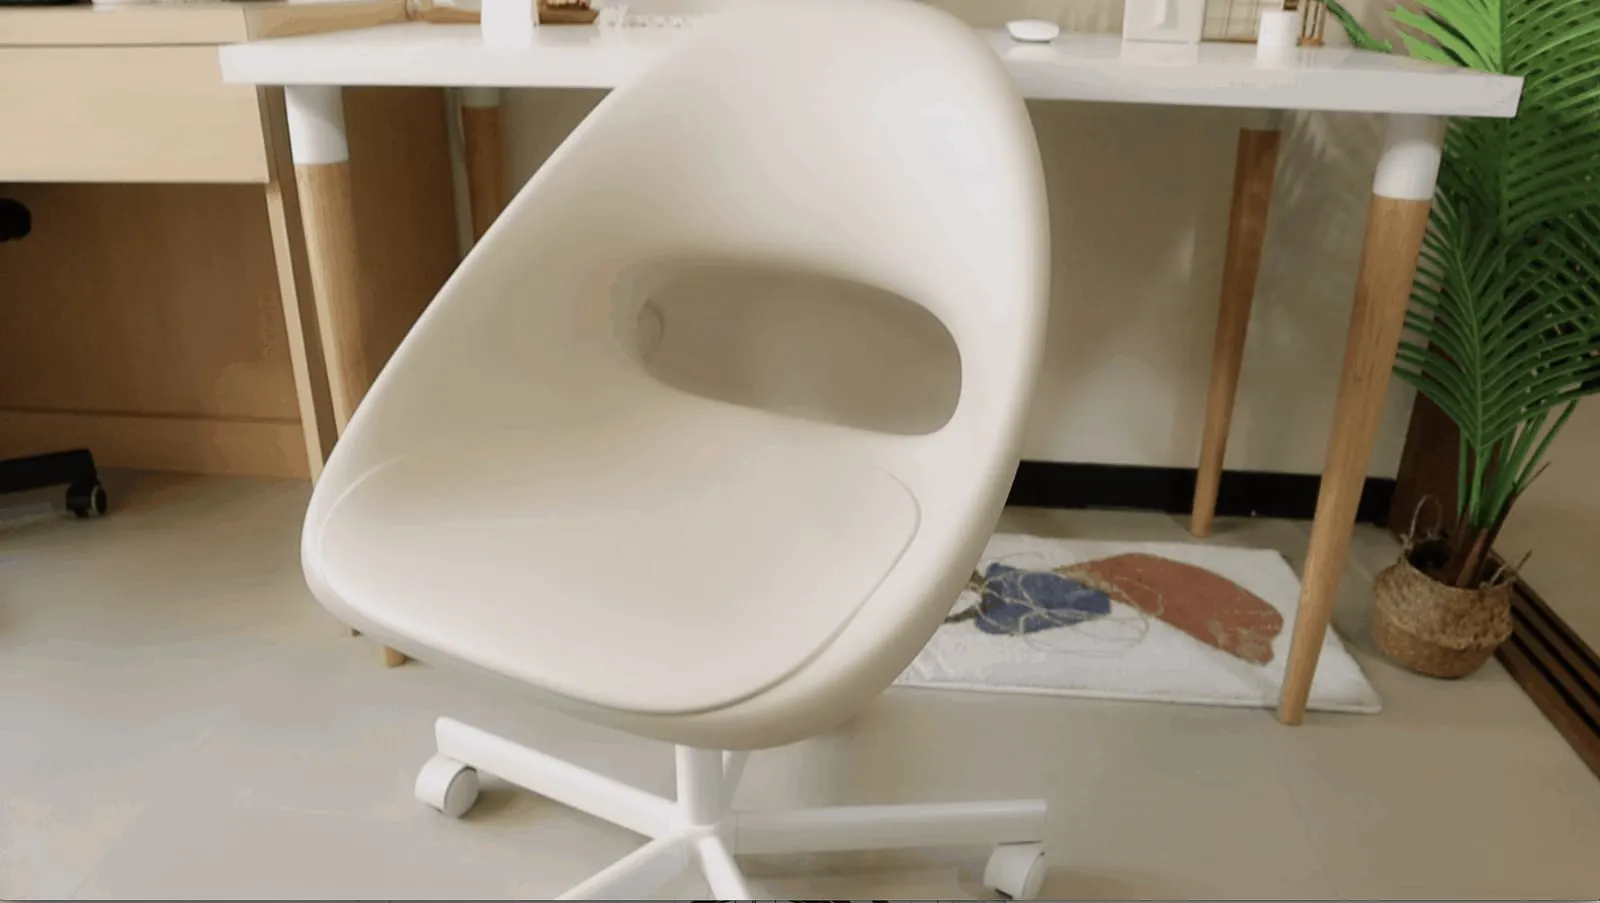
IKEA’s 2020 model: great value for money, very comfortable and easy to assemble, with several color options for the seat and legs
3. Start with What Matters Most, and Keep It Simple!
Whatever you do, don’t start shopping before you set up and organize your desk. Before anything else, grab a pen and paper and think about and write down what you want to put on it. What’s most essential for this desk? What supplies can’t you live without? At first my desk had only my computer and nothing else. When I started decorating it, I decided I would only put things on it that were essential or that I truly loved!
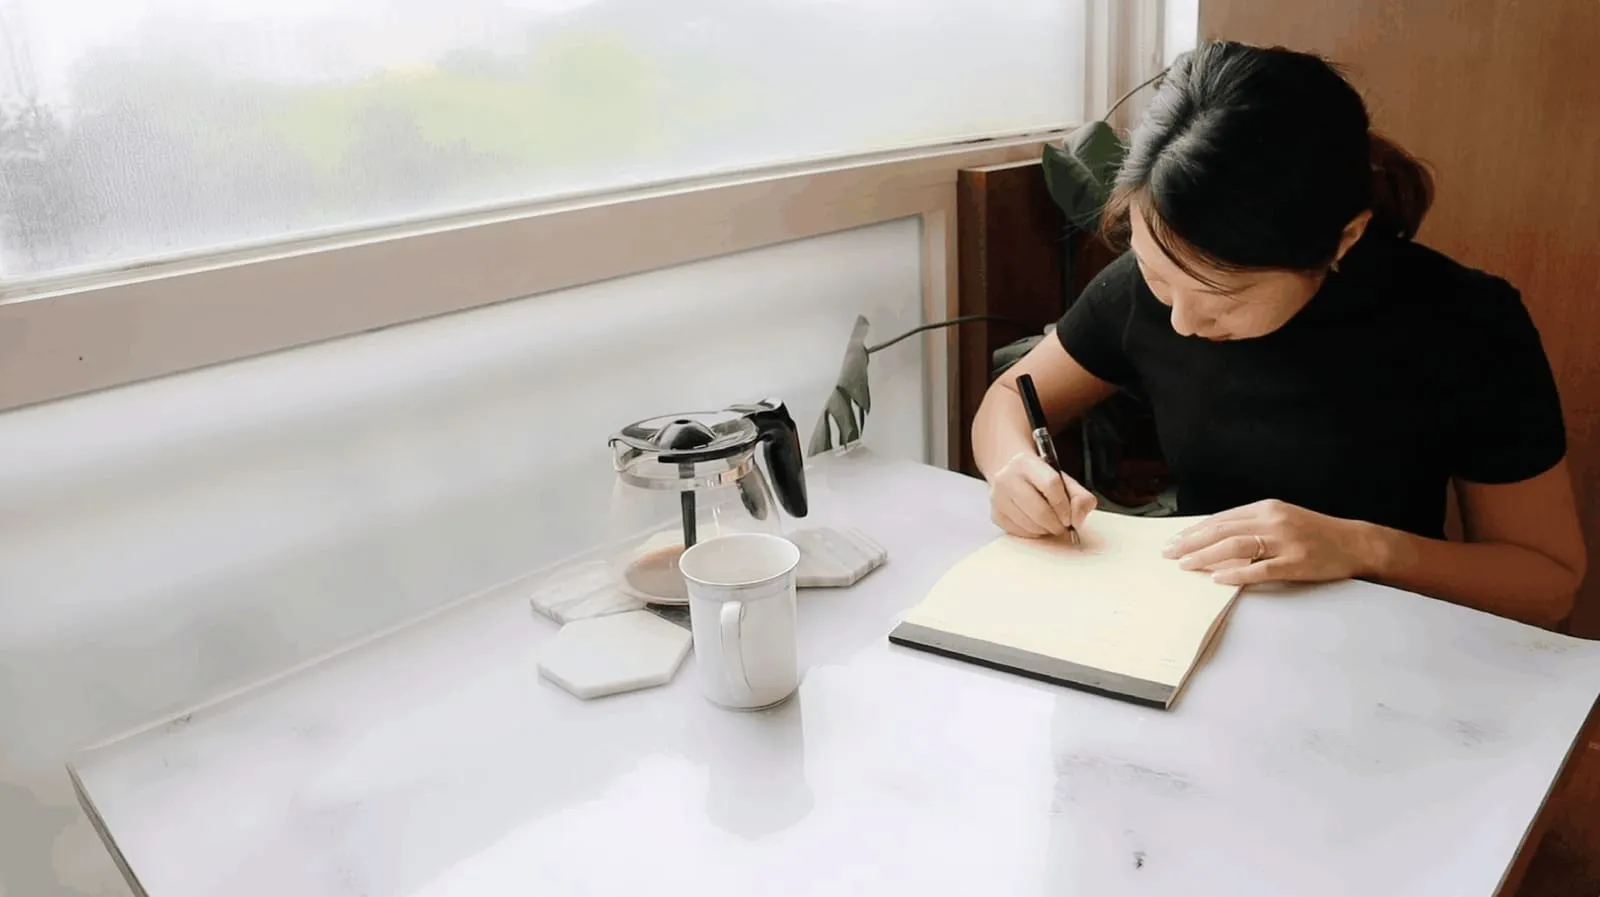
Writing down the items, storage, and decor your workspace really needs helps you avoid buying things you don’t need
You can start by listing the items you need, and then think about where to store them.
This ties in with what I shared before: after we did our big “Life-Changing Magic of Tidying Up” declutter at home, we changed a lot of our storage habits, and our attitude toward every single thing we buy changed too.
The reason for doing this is to own only what you really need and not overbuy, which not only saves unnecessary storage and frees up space, but there’s another important point: keeping your whole desk as tidy as possible will definitely boost your productivity a lot. Try not to dump everyday household items on your desk. If your space is small and your desk has to double as something else, keeping it clean is even more important, or you might accidentally use a pencil as a chopstick at dinner!
4. Look for Inspiration and Write Down What Brings You Joy
Now you have a plan for what office supplies and storage you’ll need. But if you want the whole desk to have a consistent style, you need to choose things with a similar design style.
For me, I already knew I definitely wanted a pen holder, a bookshelf, and some decorative pieces on my desk. But I wasn’t sure whether they’d look good thrown together, or whether they’d really keep the style I wanted without creating visual clutter. That’s when my favorite source of inspiration comes in: Pinterest.
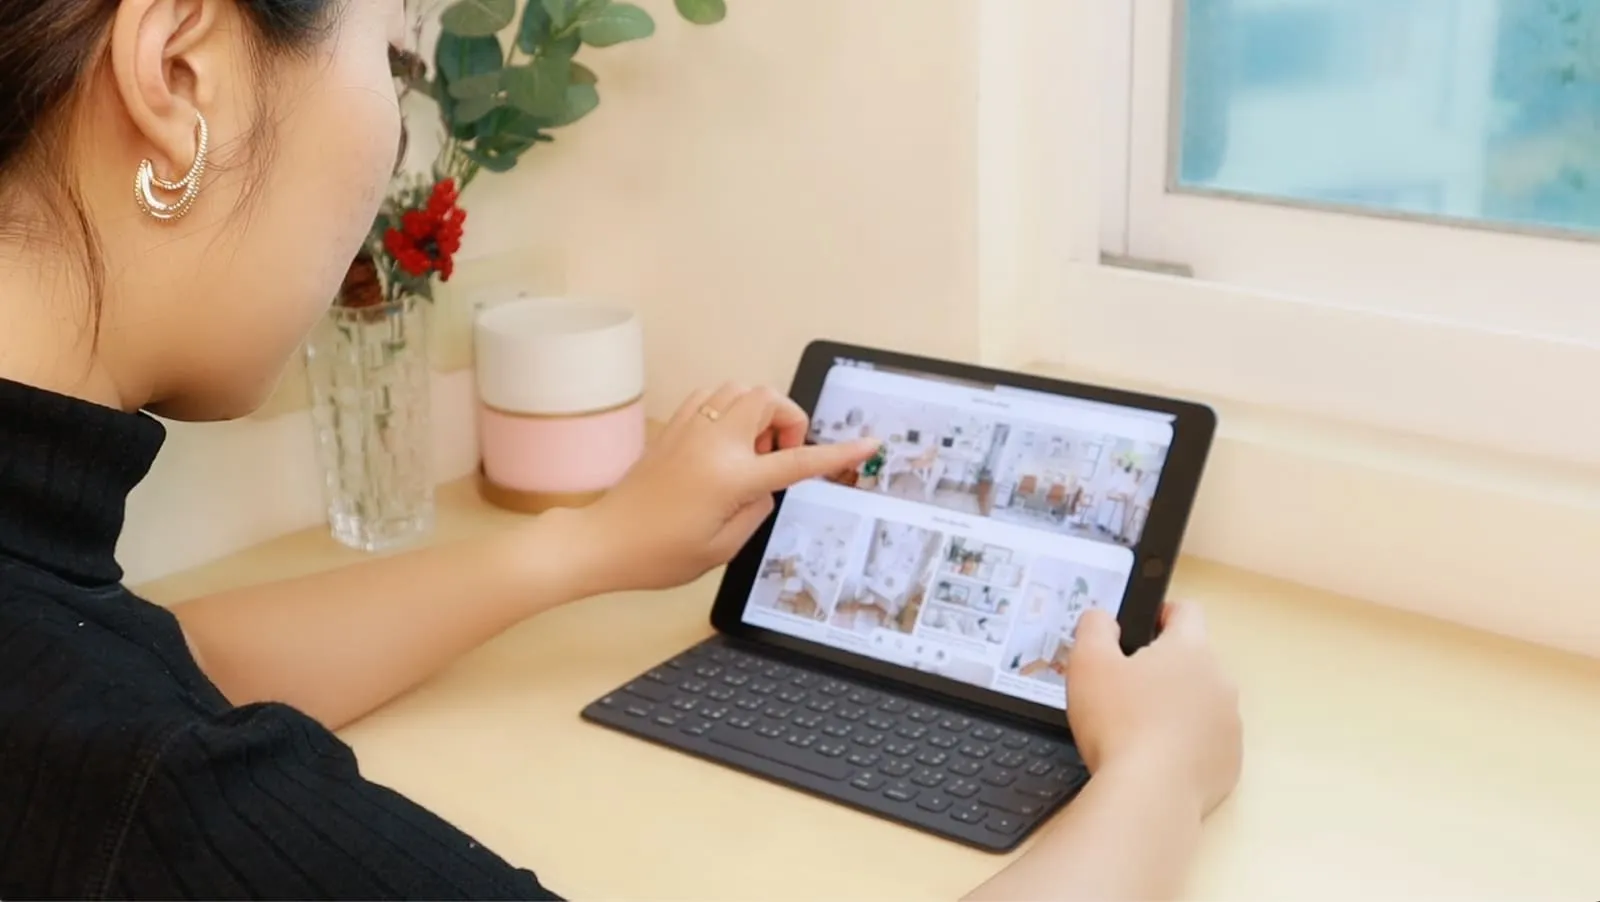
Pinterest is the best place to find visual inspiration for your home office.
I go on Pinterest to find home office inspiration. Try searching “Home office” and look at desk setups in different styles, then save the ones you like. That gives you an overall feel, so when you shop for office supplies and storage, you’ll be precise, avoid waste, and still be stylish.
5. Make a Visual Mock-Up
Now that you know the style of your workspace and roughly what style of items you need to buy, the next step is to quickly put together a mock-up to see what the things you want to buy would look like in the space. I’ll walk you through how I make a visual mock-up step by step.
I recommend Canva Design. It’s a tool designed for non-designers. It’s very easy to learn, powerful, and has a free version! You can use it directly on the Canva website or download the app.
First, I took a photo of my whole workspace with my phone, since it’s the centerpiece of the mock-up.
After logging into Canva, since I wanted to view my mock-up on my phone, I chose the Instagram Story template, with a canvas size of 1080*1920. That opens a blank canvas.
Next, save the images of all the things you want to buy. You can remove the backgrounds yourself, or if you don’t want the hassle, you don’t have to. Canva has a background remover (how to: drag the photo onto the blank canvas, select Effects, and you’ll see the background remover at the top of the panel that opens on the left).
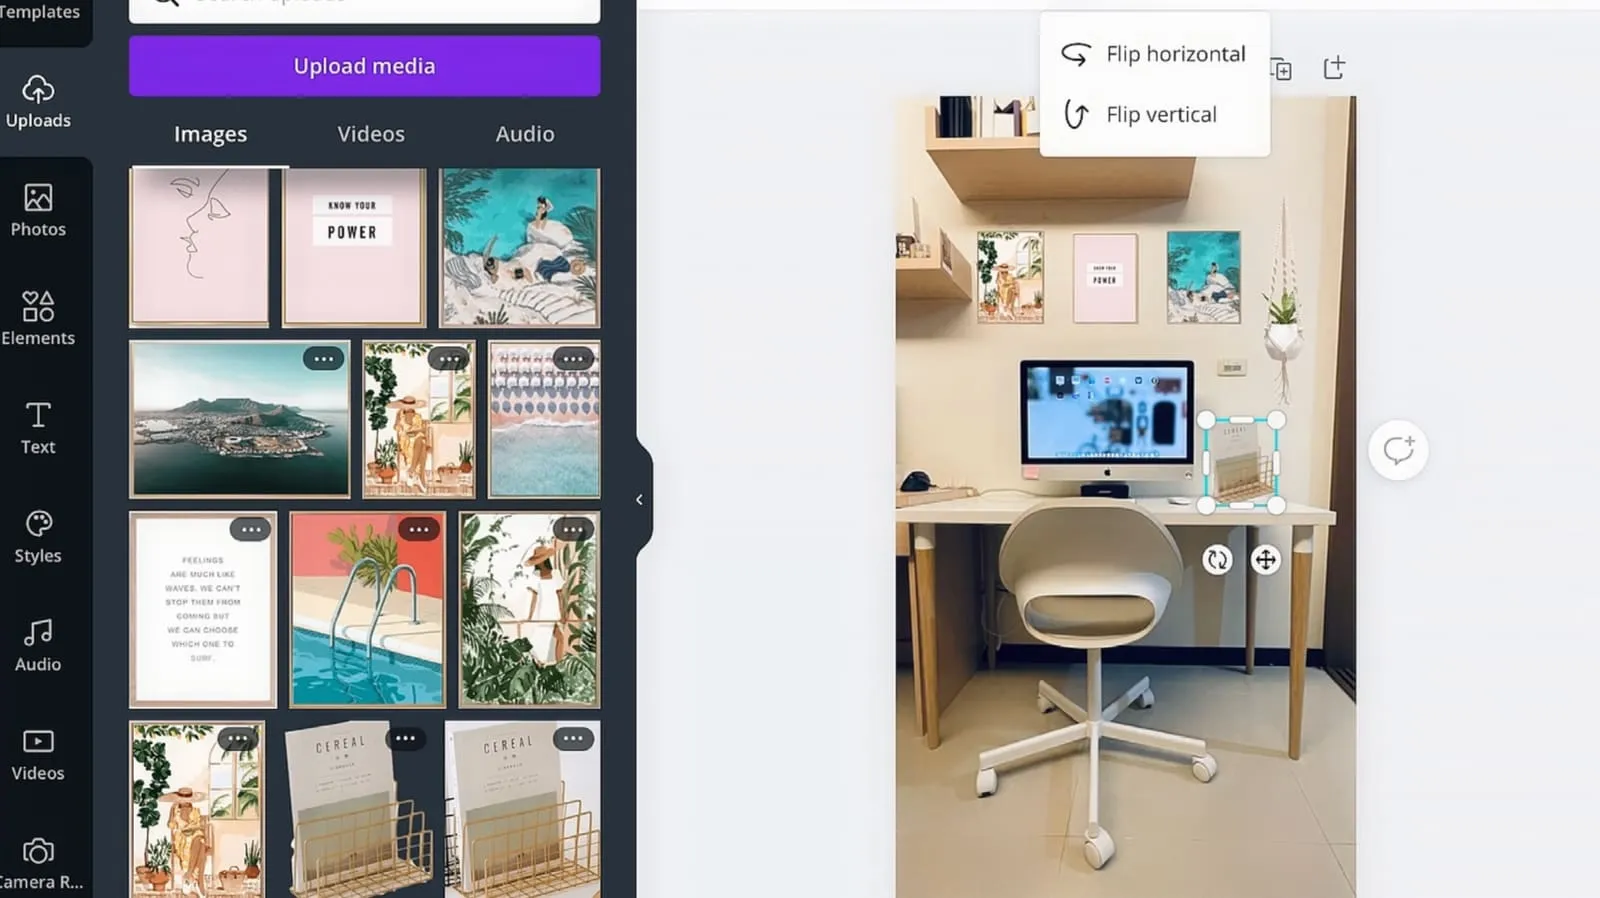
Canva is a tool for non-designers: upload images of the things you want to buy, then arrange them into a mock-up of your own design
Drag the background-free items onto the canvas one by one, scale them to the right size, and place them where you want. You can move each item around however you like. Once everything is placed, you can see at a glance whether everything has a home.
Besides making sure the style is consistent, the advantage of a visual mock-up is that arranging things gives you more time to think about whether you really need each item, or whether it’s really the style you want to buy. This helps you avoid bringing things home that don’t match your look, or that you end up not liking and that just become useless clutter.
6. Get Creative with Your Space
This is the moment to enjoy the process and get creative! Get your mock-up ready, along with the stationery, decor, and storage boxes you’re going to set out. Put on some music, make a cup of tea, and enjoy decorating.
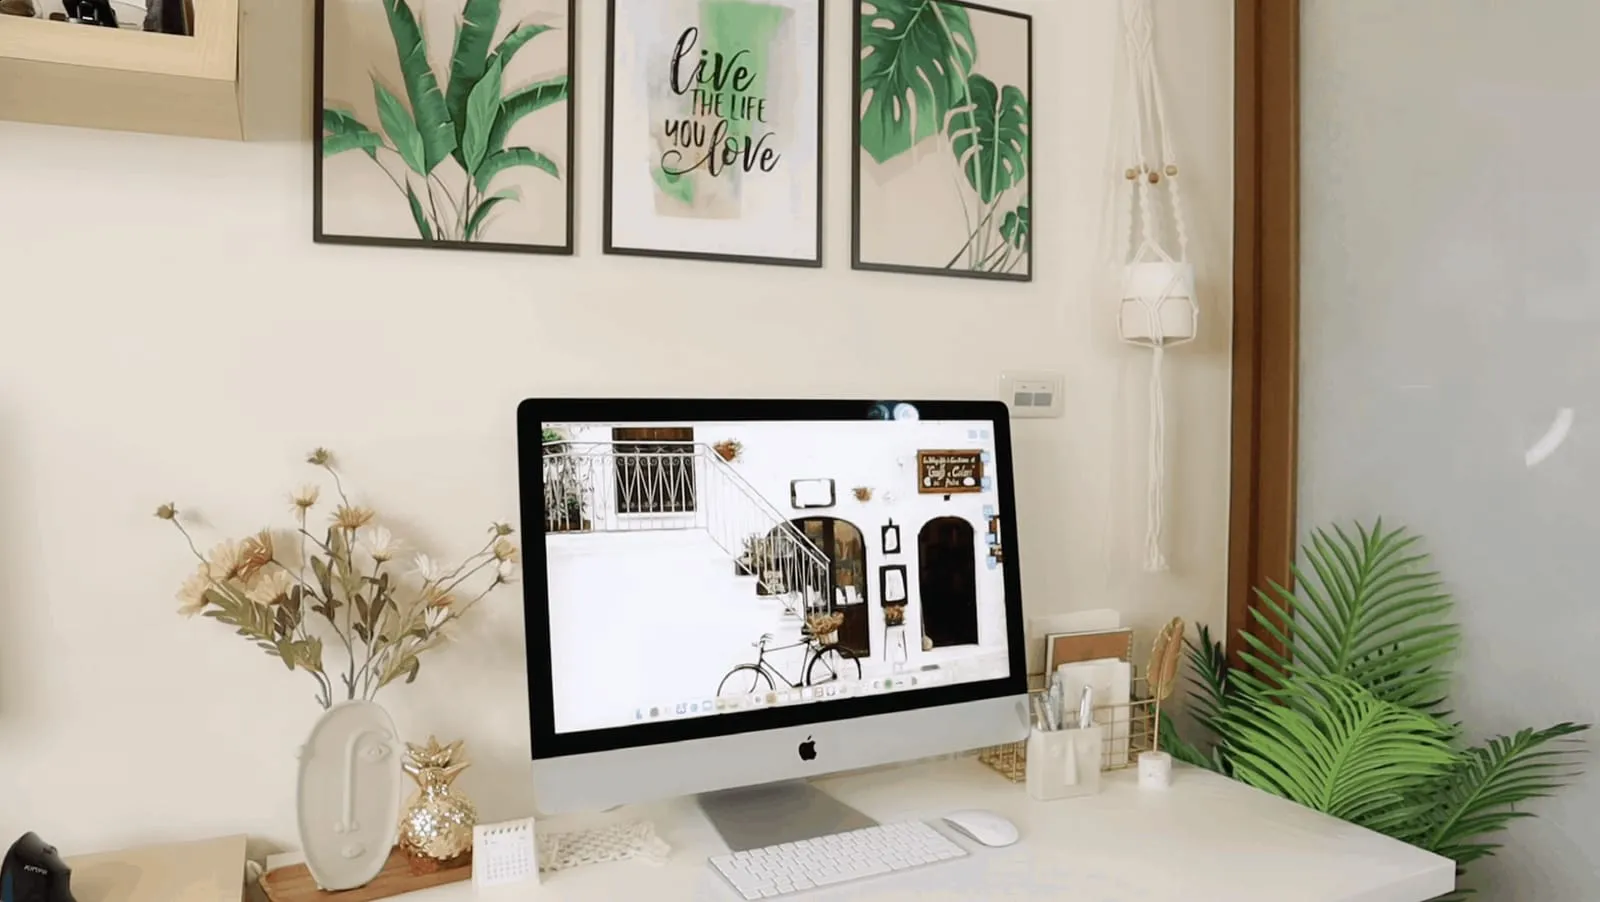
You can start from a central point. For me, the most important thing is the computer. The computer is the center of the desk, and everything else is arranged around it, from top to bottom. So I started with the wall, measured the position, and hung my art print, then moved on to the desk: the bookshelf, pen holder, notebooks, pens, vase, decorative pieces, potted plants, and so on.
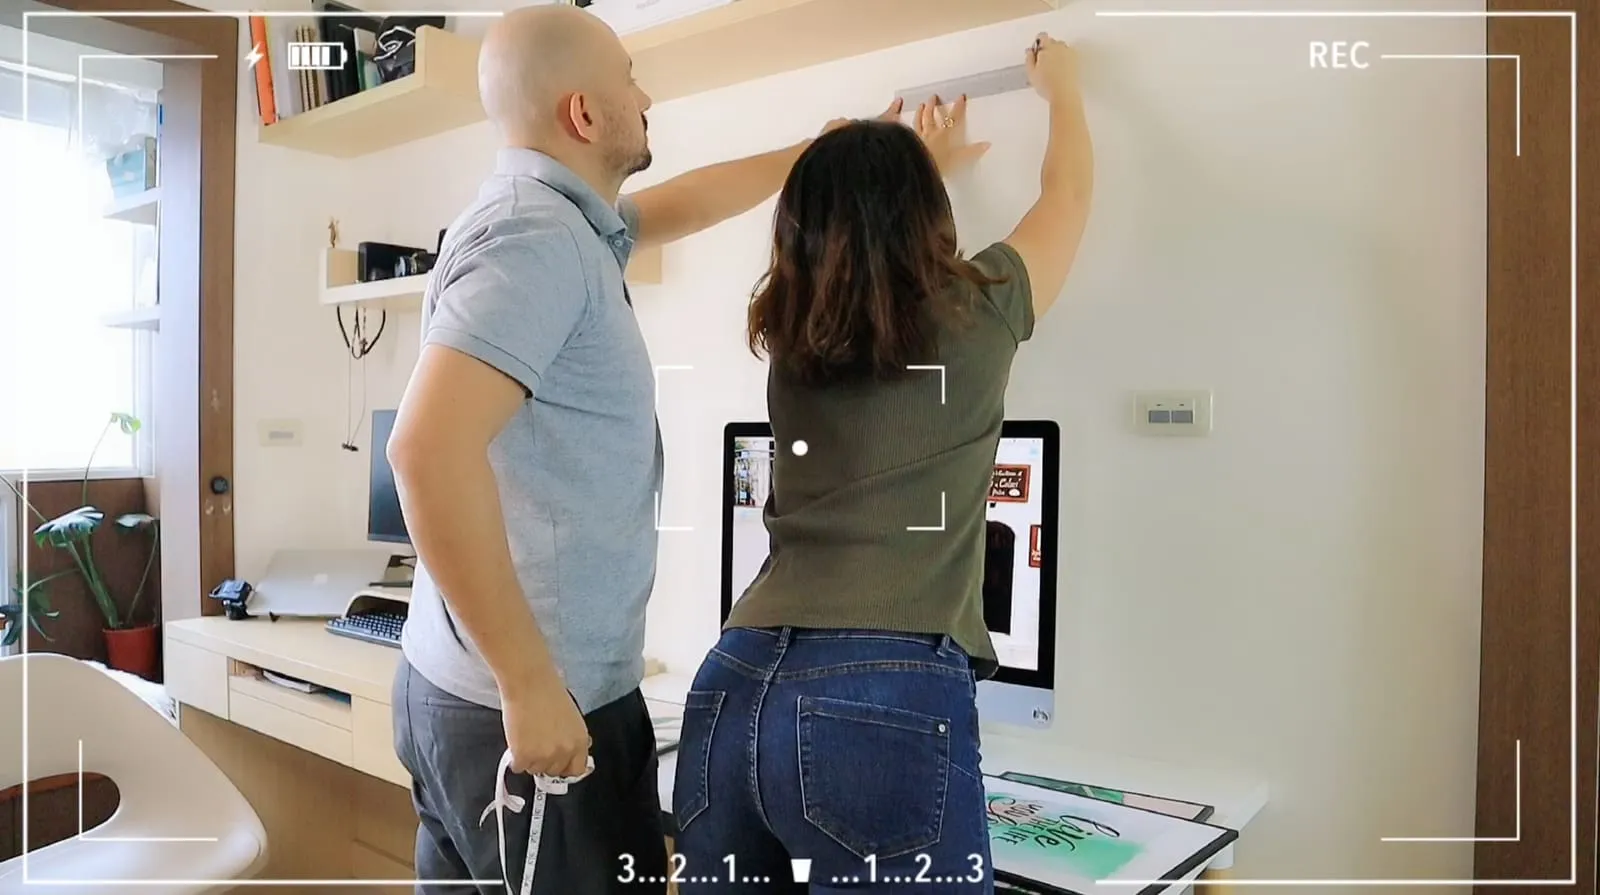
With the computer as the center, decorate from top to bottom: measure the position on the wall, then hang the art print
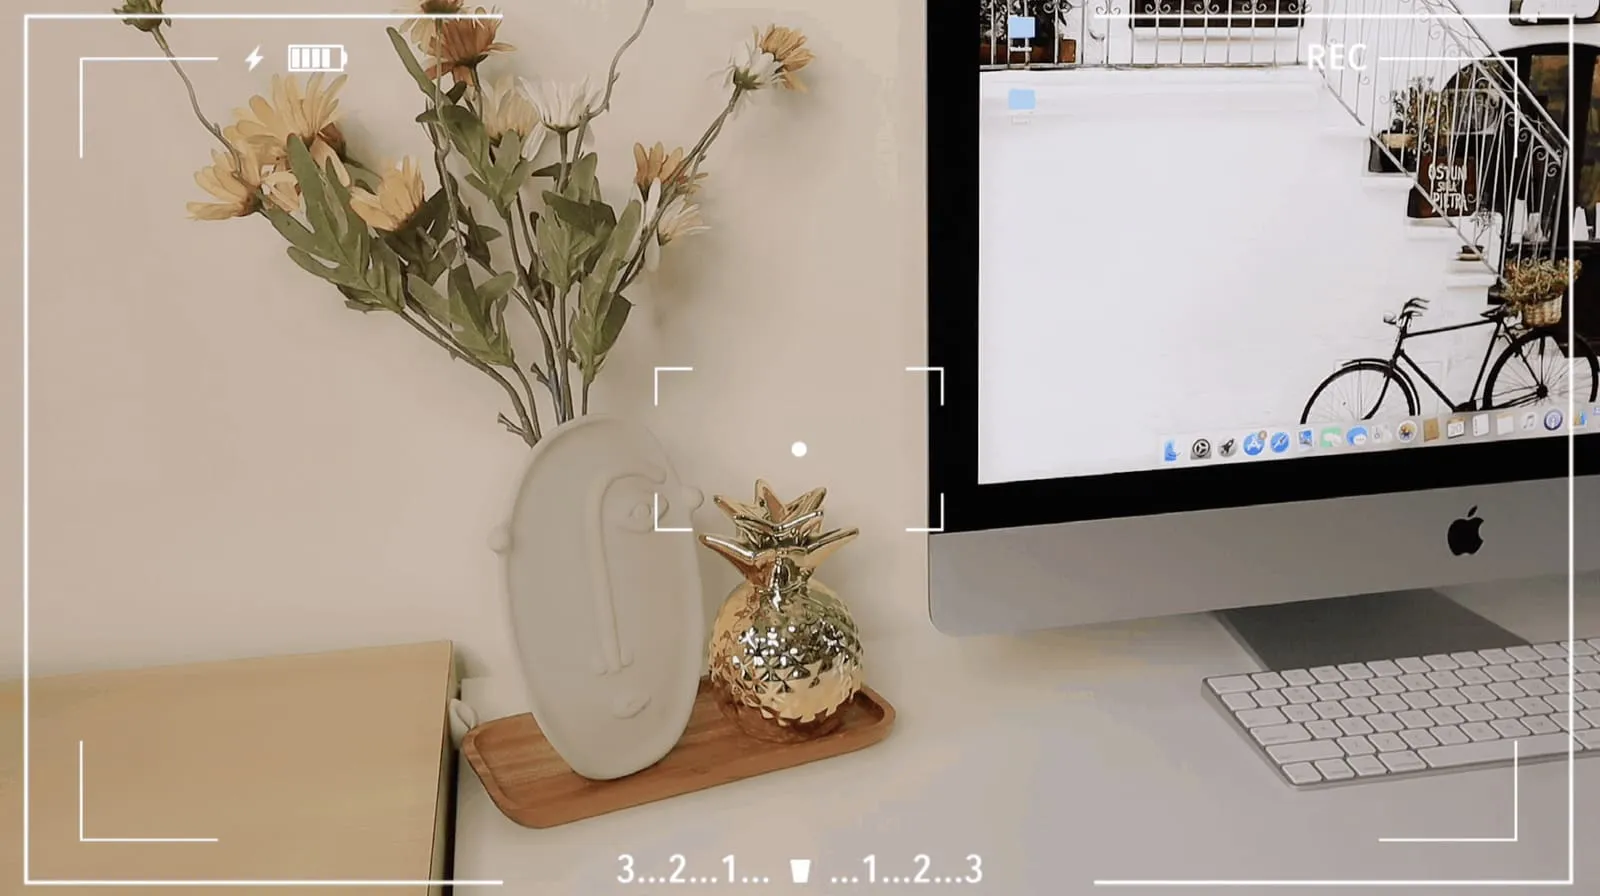
Besides my computer and stationery, I added a few pieces on my desk that help me relax and spark inspiration
Since it’s winter right now and it still gets cold sometimes, I added a rug and a wool throw to make the space feel and look a bit warmer. I’ll probably put them away in the summer. The overall style is minimal white, decorated with touches of gold, pink, and green. And this is what my workspace looks like all finished!
Do you like it? If you want to decorate your own workspace, do you have more inspiration now? What style do you like? I’d love for you to share with me in the comments, and you’re welcome to share your photos with me on IG. I can’t wait to see your designs.
Even a small space can become a home office in your own style, a place to focus on work and relax with a book.